I love the look of burlap. I think it’s perfect for the fall and matches everything!
I had an empty wall that I needed fill in my dining room and wanted to put up a seasonal wreath. When I checked out wreaths in stores, I was shocked at how expensive they were! Some were $60-$80! No way… So I decided to make my own.
This is a really easy DIY project that looks a lot more complicated than it actually is! Trust me! It’s very hard to mess up. I kept thinking I was “messing up” while I was making it, but I think it turned out pretty well.
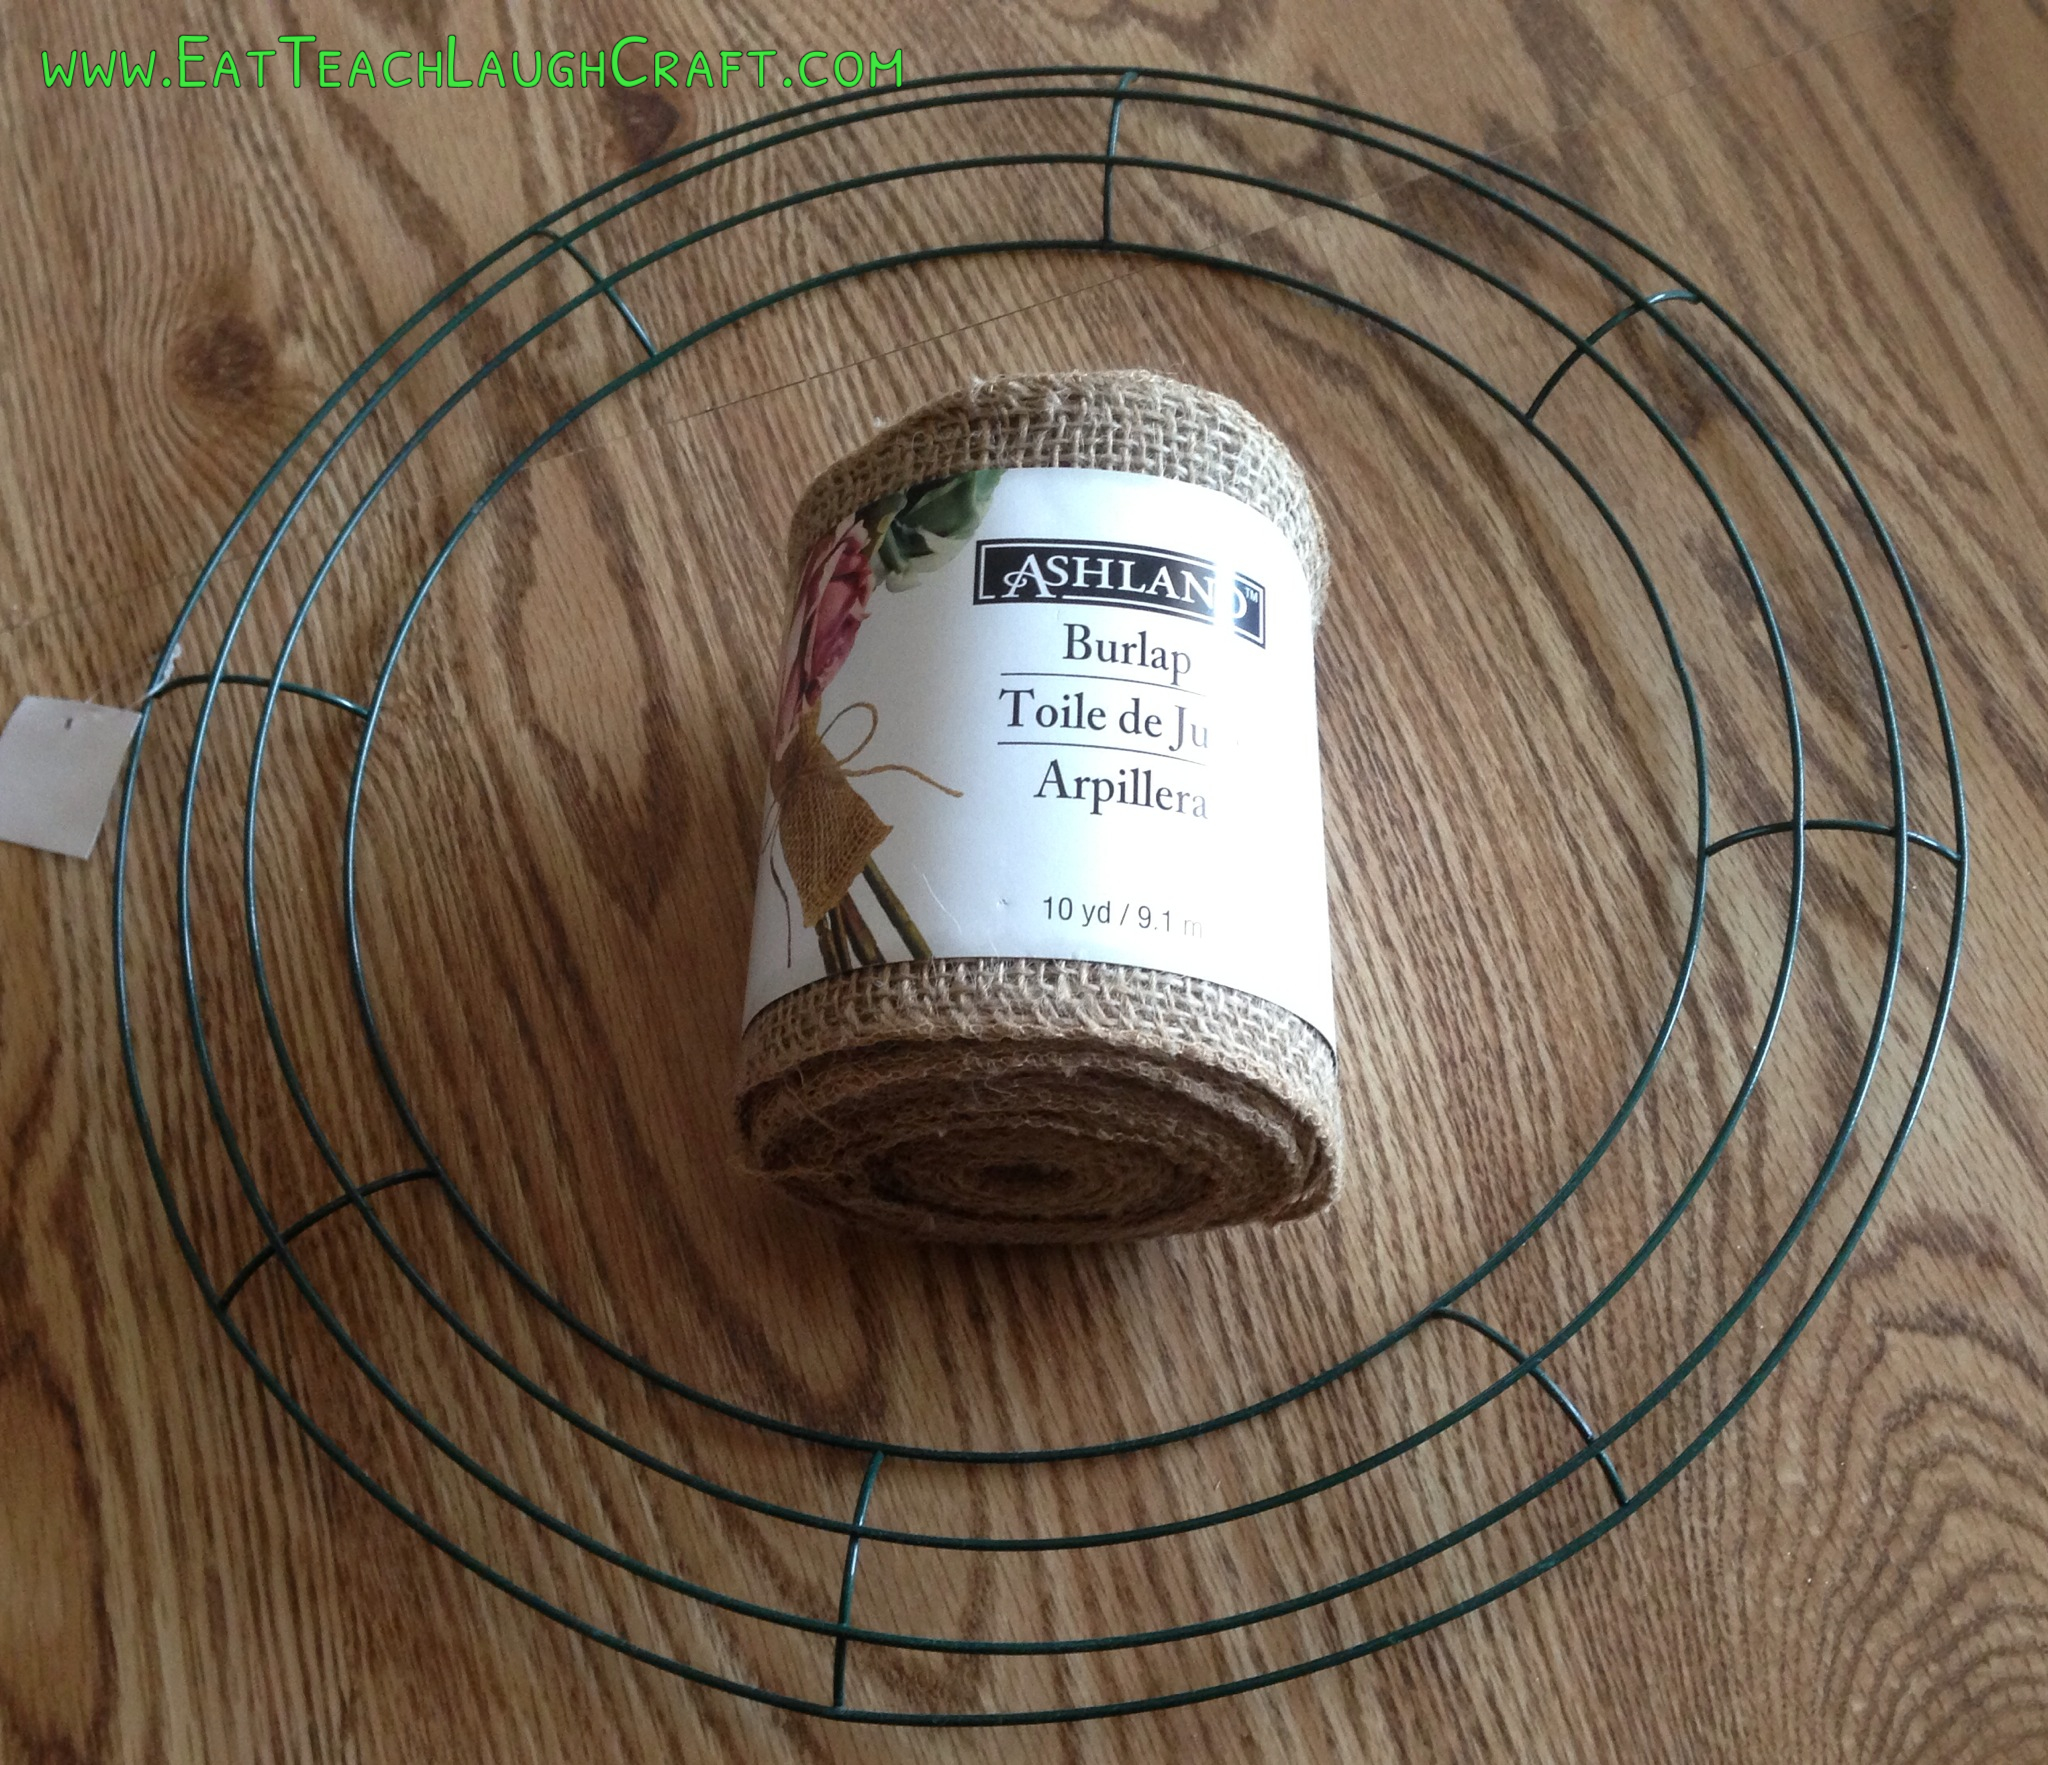
Materials:
- Wire wreath form (I used 14 inches)
- Burlap ribbon (I used about 1.5 rolls of burlap)
- Floral Wire (optional)
- Artificial flowers (I bought mine at the dollar store!)
- Hot glue gun
Steps:
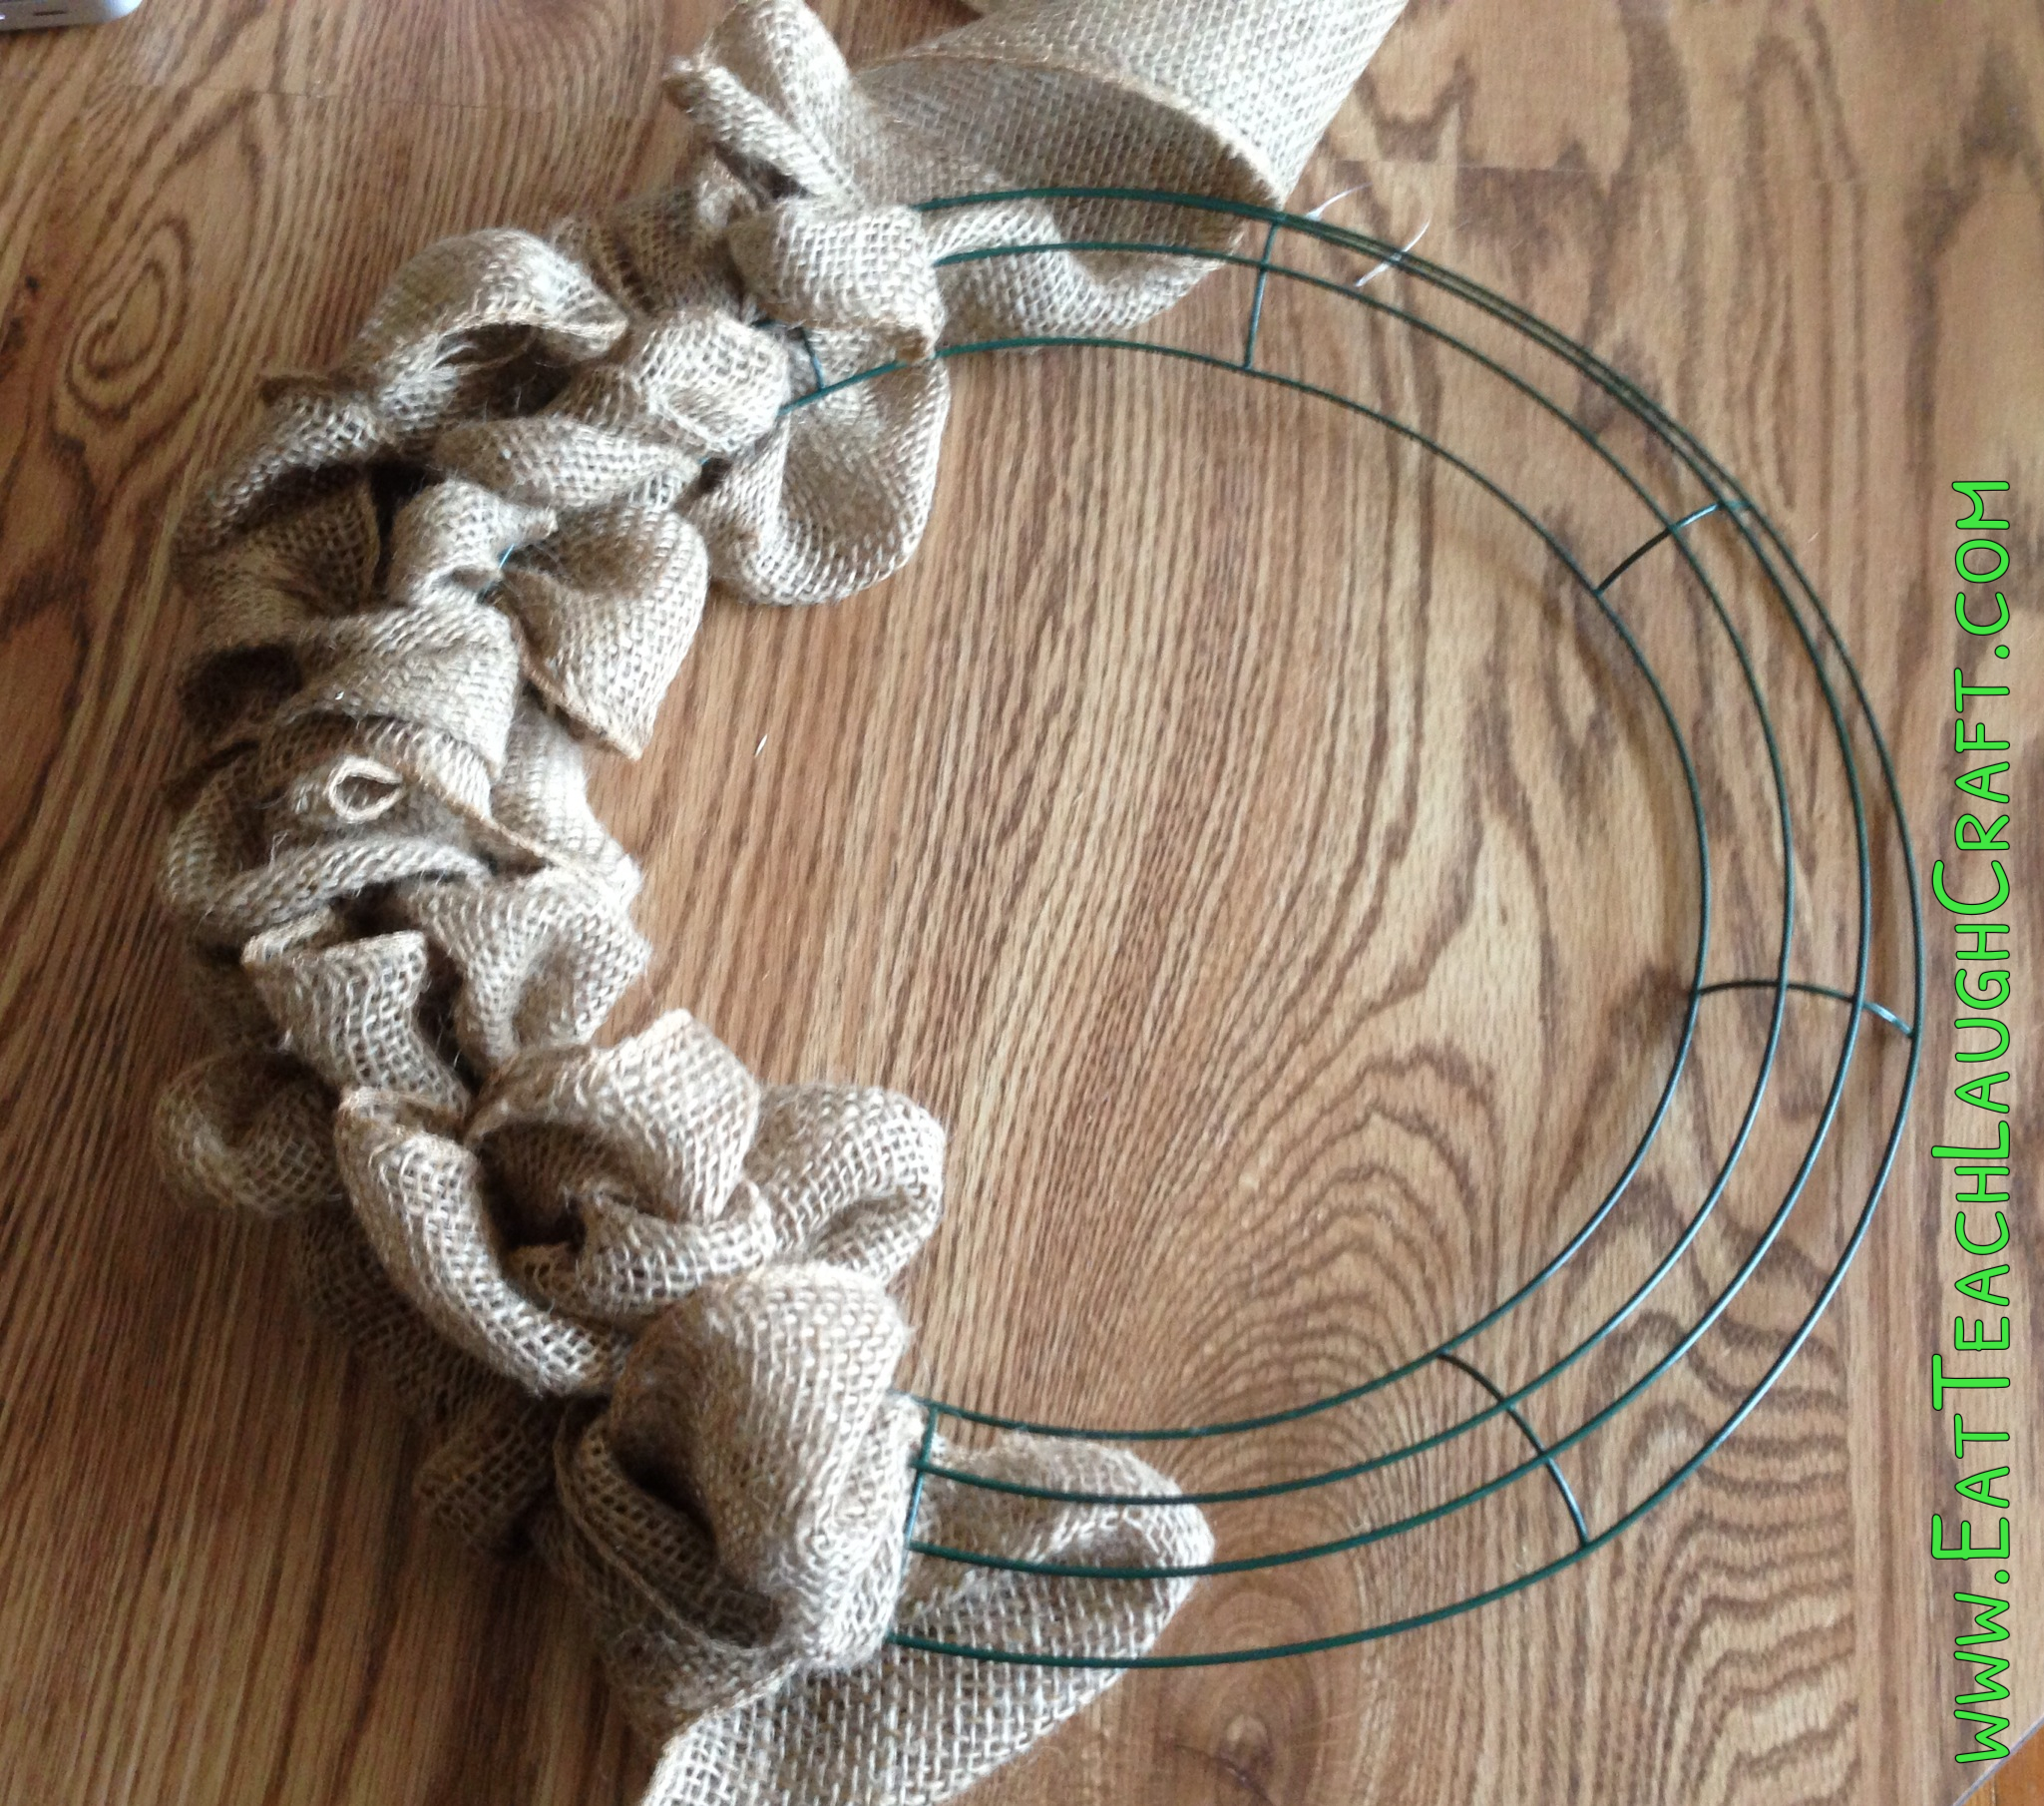
1. The first thing to do is tie the end of the burlap to the wreath frame. You can weave some floral wire into the burlap to do so, or you can just tie the burlap itself to the wreath form. (That’s what I did, and you couldn’t tell!)
2. The next step is difficult to describe but easy to do! You loop the burlap through the wire frame, in and out. Try to create different sized loops as you go.

3. Repeat the looping process back and forth. Push the burlap together every few rounds to create a fuller look and ensure you cannot see the wire frame.
4. Continue to look back and forth until you run out of burlap. This is when you can add another piece of floral wire to the end to secure OR tie the end of the burlap to the wire frame like I did. (The knot just looks like another loop!)
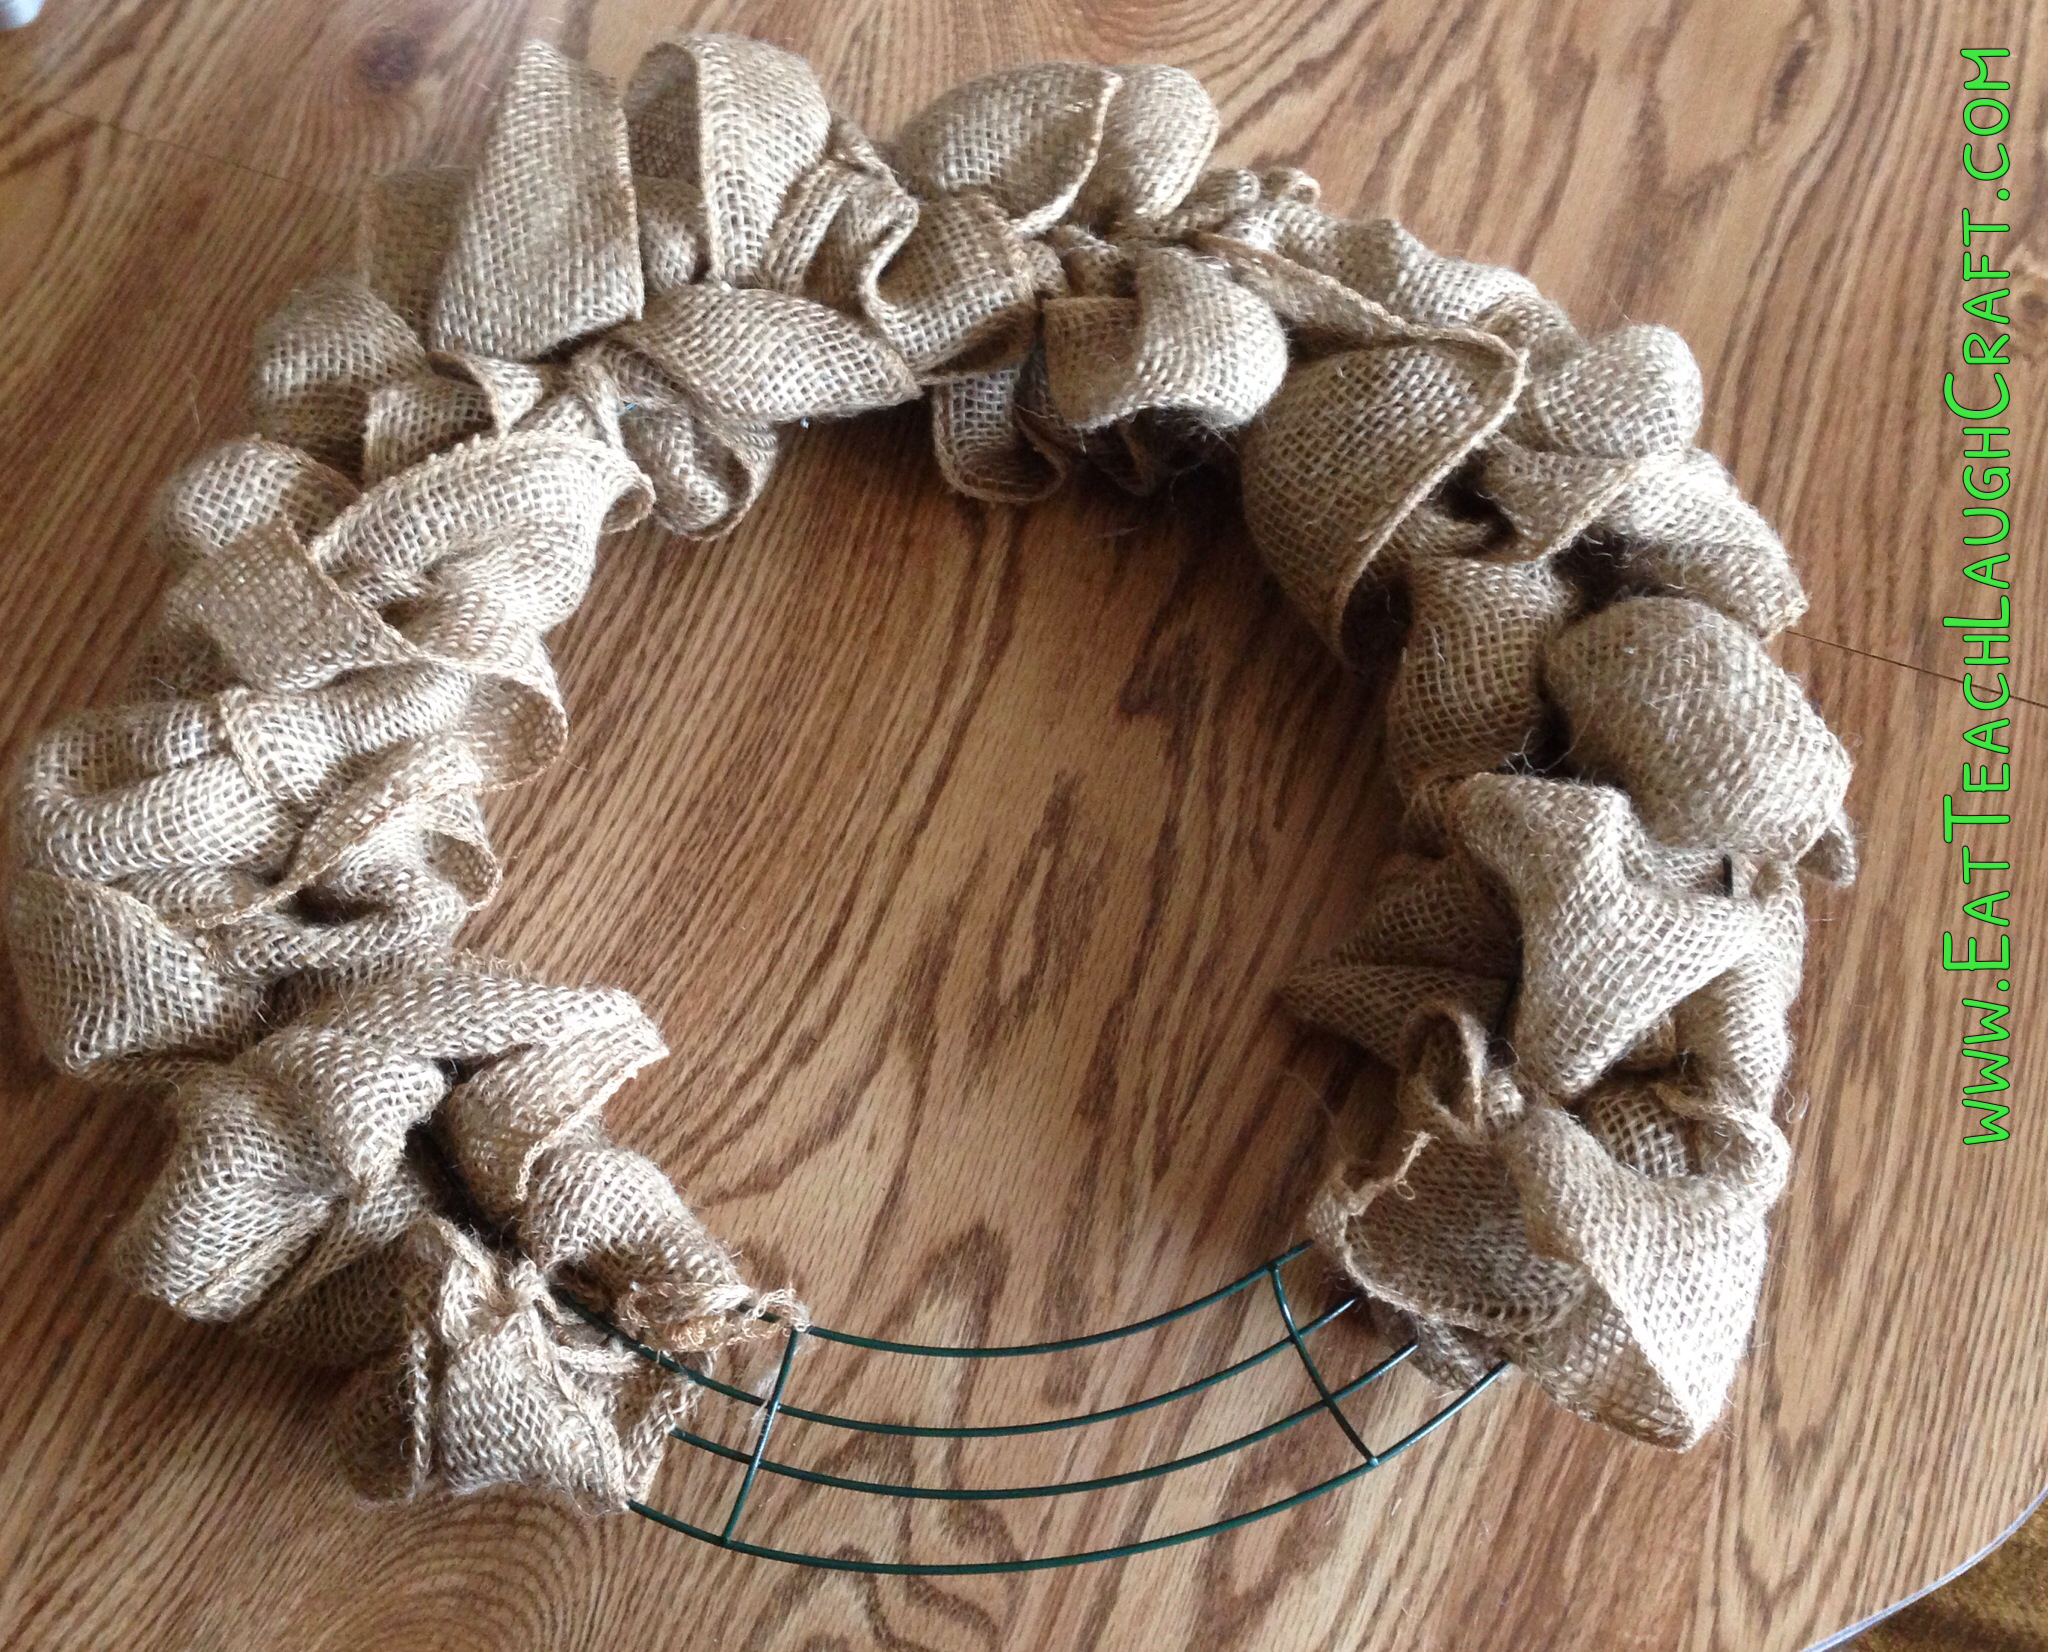
5. Add the new burlap and repeat the process until your whole wreath is full.
6. Select your flowers to add to the wreath and remove the stems. Glue the flowers onto the wreath with your hot glue gun. If your knot is noticeable, I recommend placing the flowers overtop of it.

7. Hang it up and enjoy! You can even change the flowers for various seasons if you choose.