There have been many special occasions in my life that I’ve wanted to hold on to. For instance, one such example is when my fiance and I first moved to our new apartment. As soon as we put the key in the door and walked in for the first time, my fiance surprised me with a big bottle of champagne and we made a toast to all the wonderful times to be had in our new place. Call me sentimental, but I couldn’t force myself to “throw away” a moment like that. Therefore, I kept the bottle.
 Since that time, we’ve had a lot of other special moments… a housewarming party, our parents meeting for the first time, our engagement, etc. You get the point.
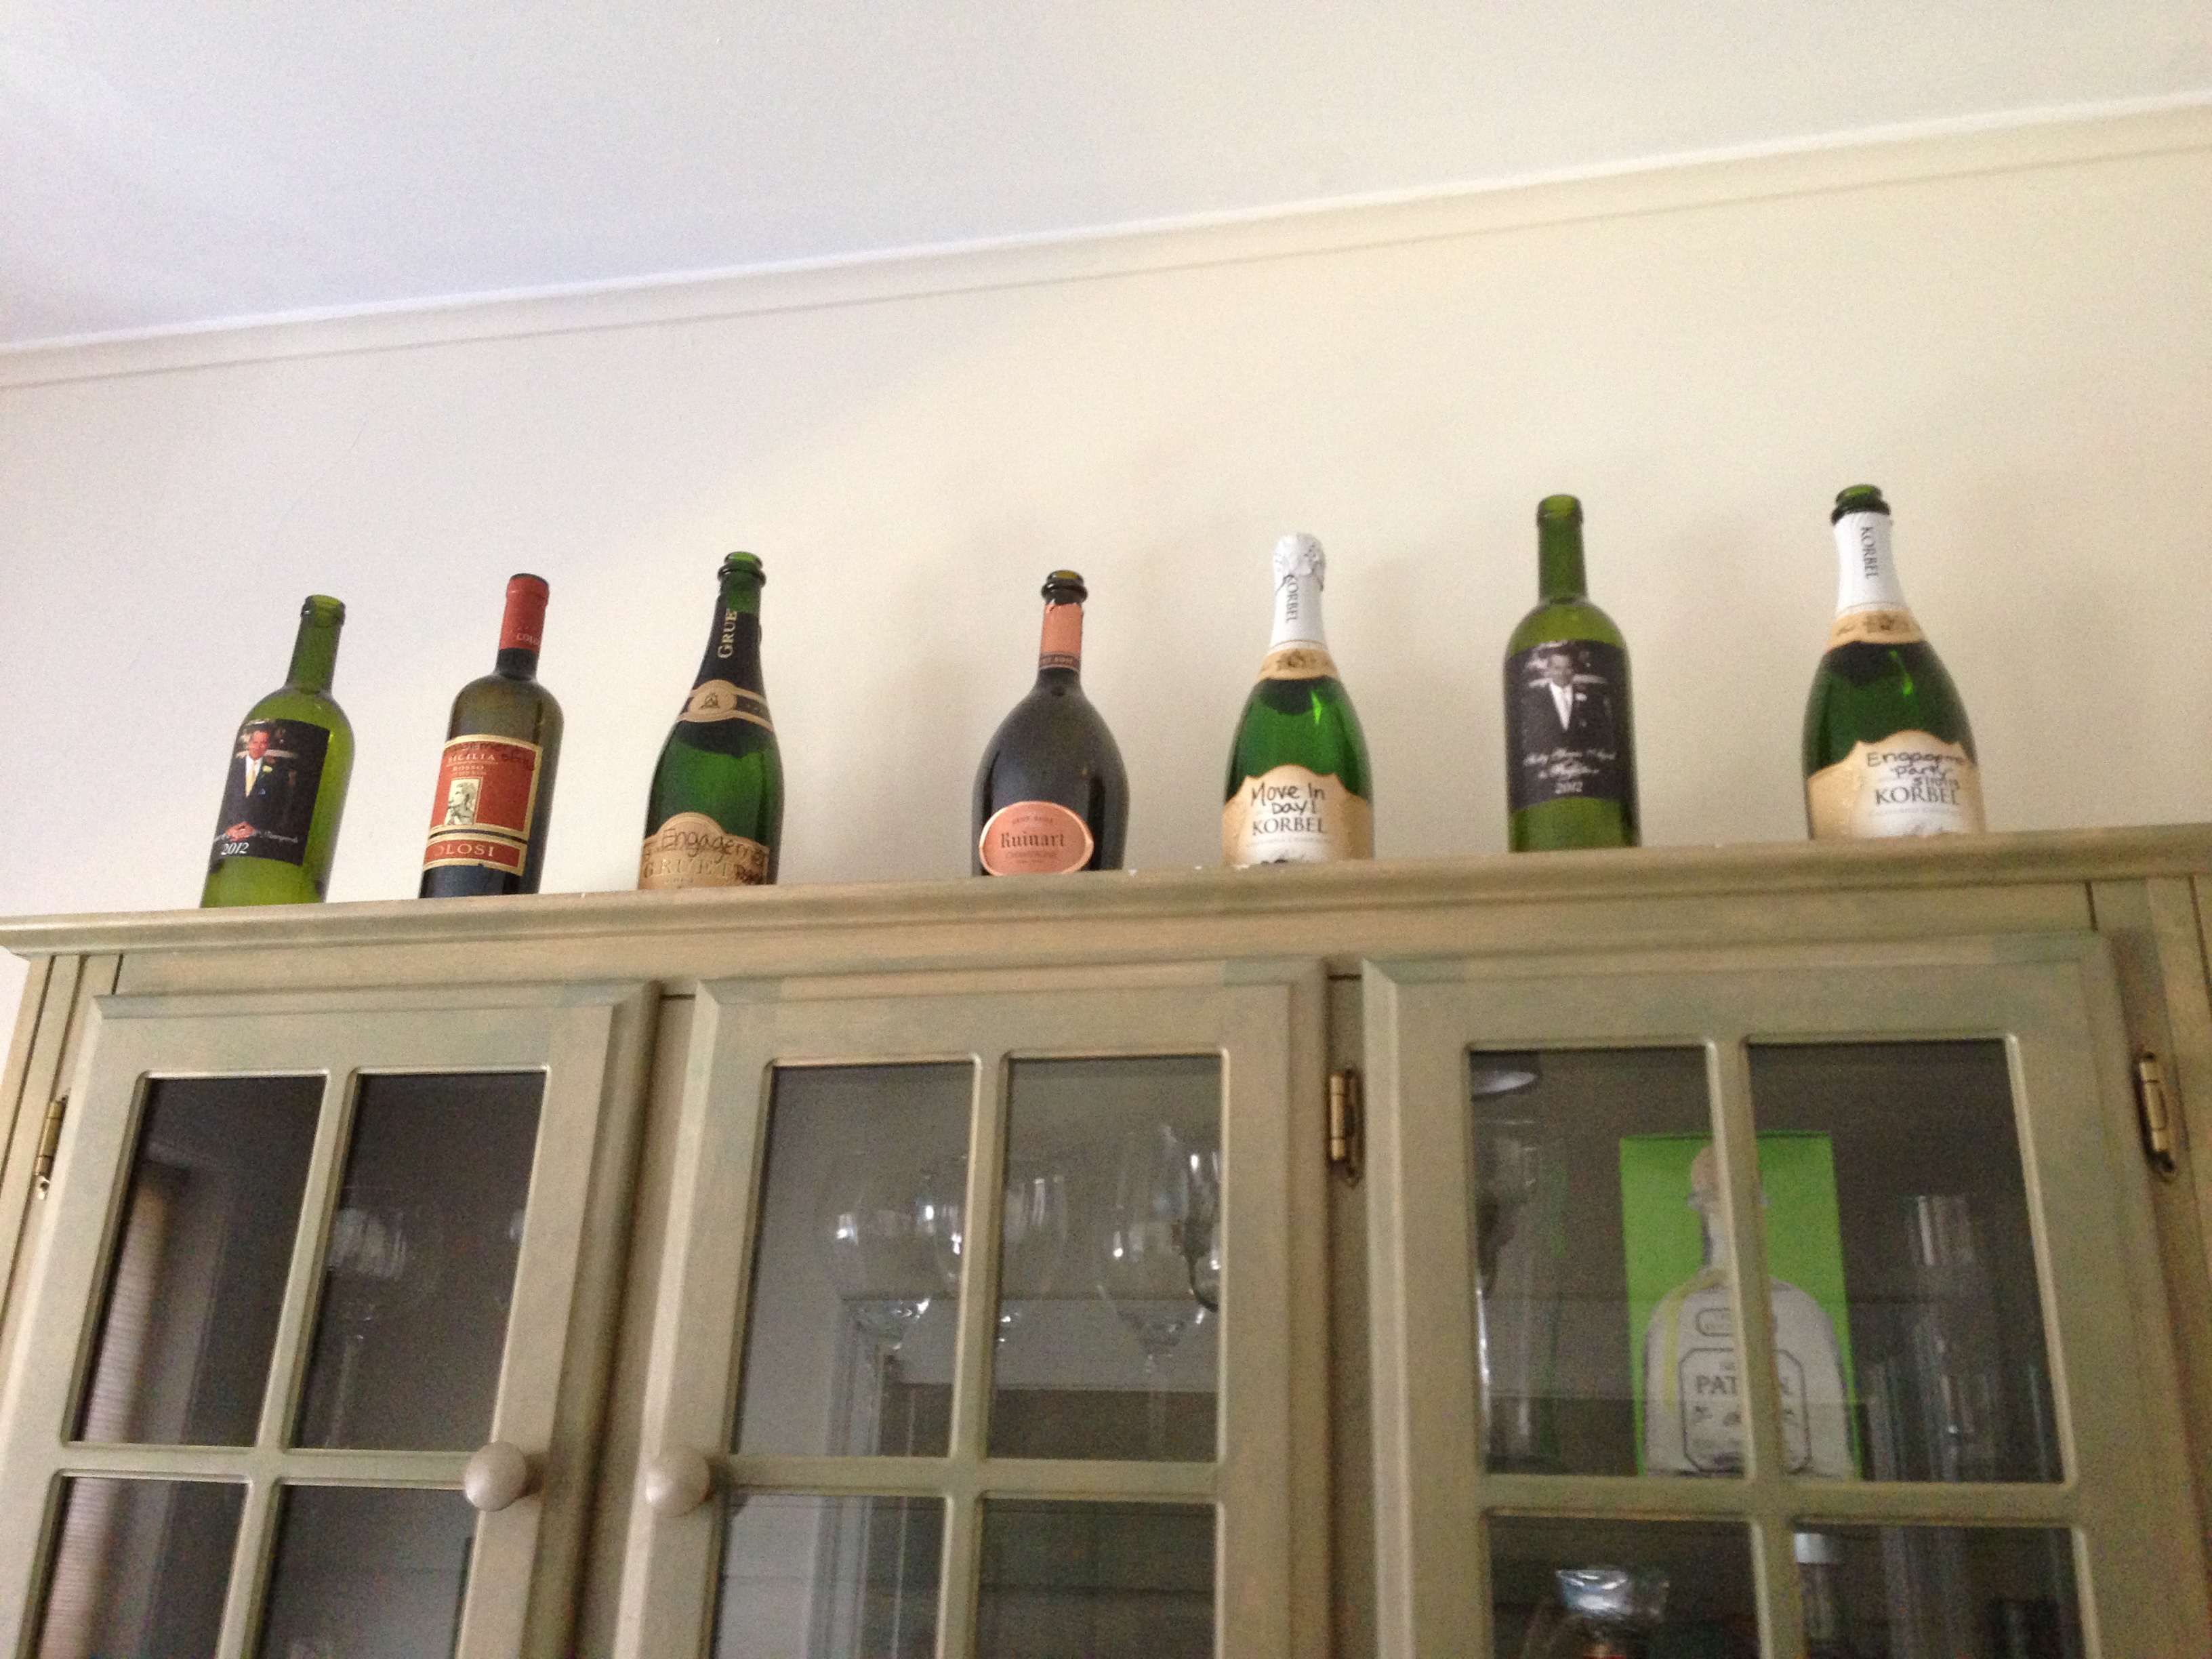
As more of these special moments occurred, there was less space in my apartment to keep the bottles without them looking like I just forgot to take out the recycling. I initially kept them in our liquor cabinet, but space eventually ran out. I contemplated just discarding them after all. However, after giving it a second thought, I decided I would create a project with the bottles so that I would be able to keep and display the bottles without creating an eyesore. In the meantime, I kept them on top of our liquor cabinet in our dining room and cringed every time I looked up.
Materials:
- Wine/champagne bottles
- Chalkboard spray paint (black)
- Chalk or chalk markers
- Artificial Flowers
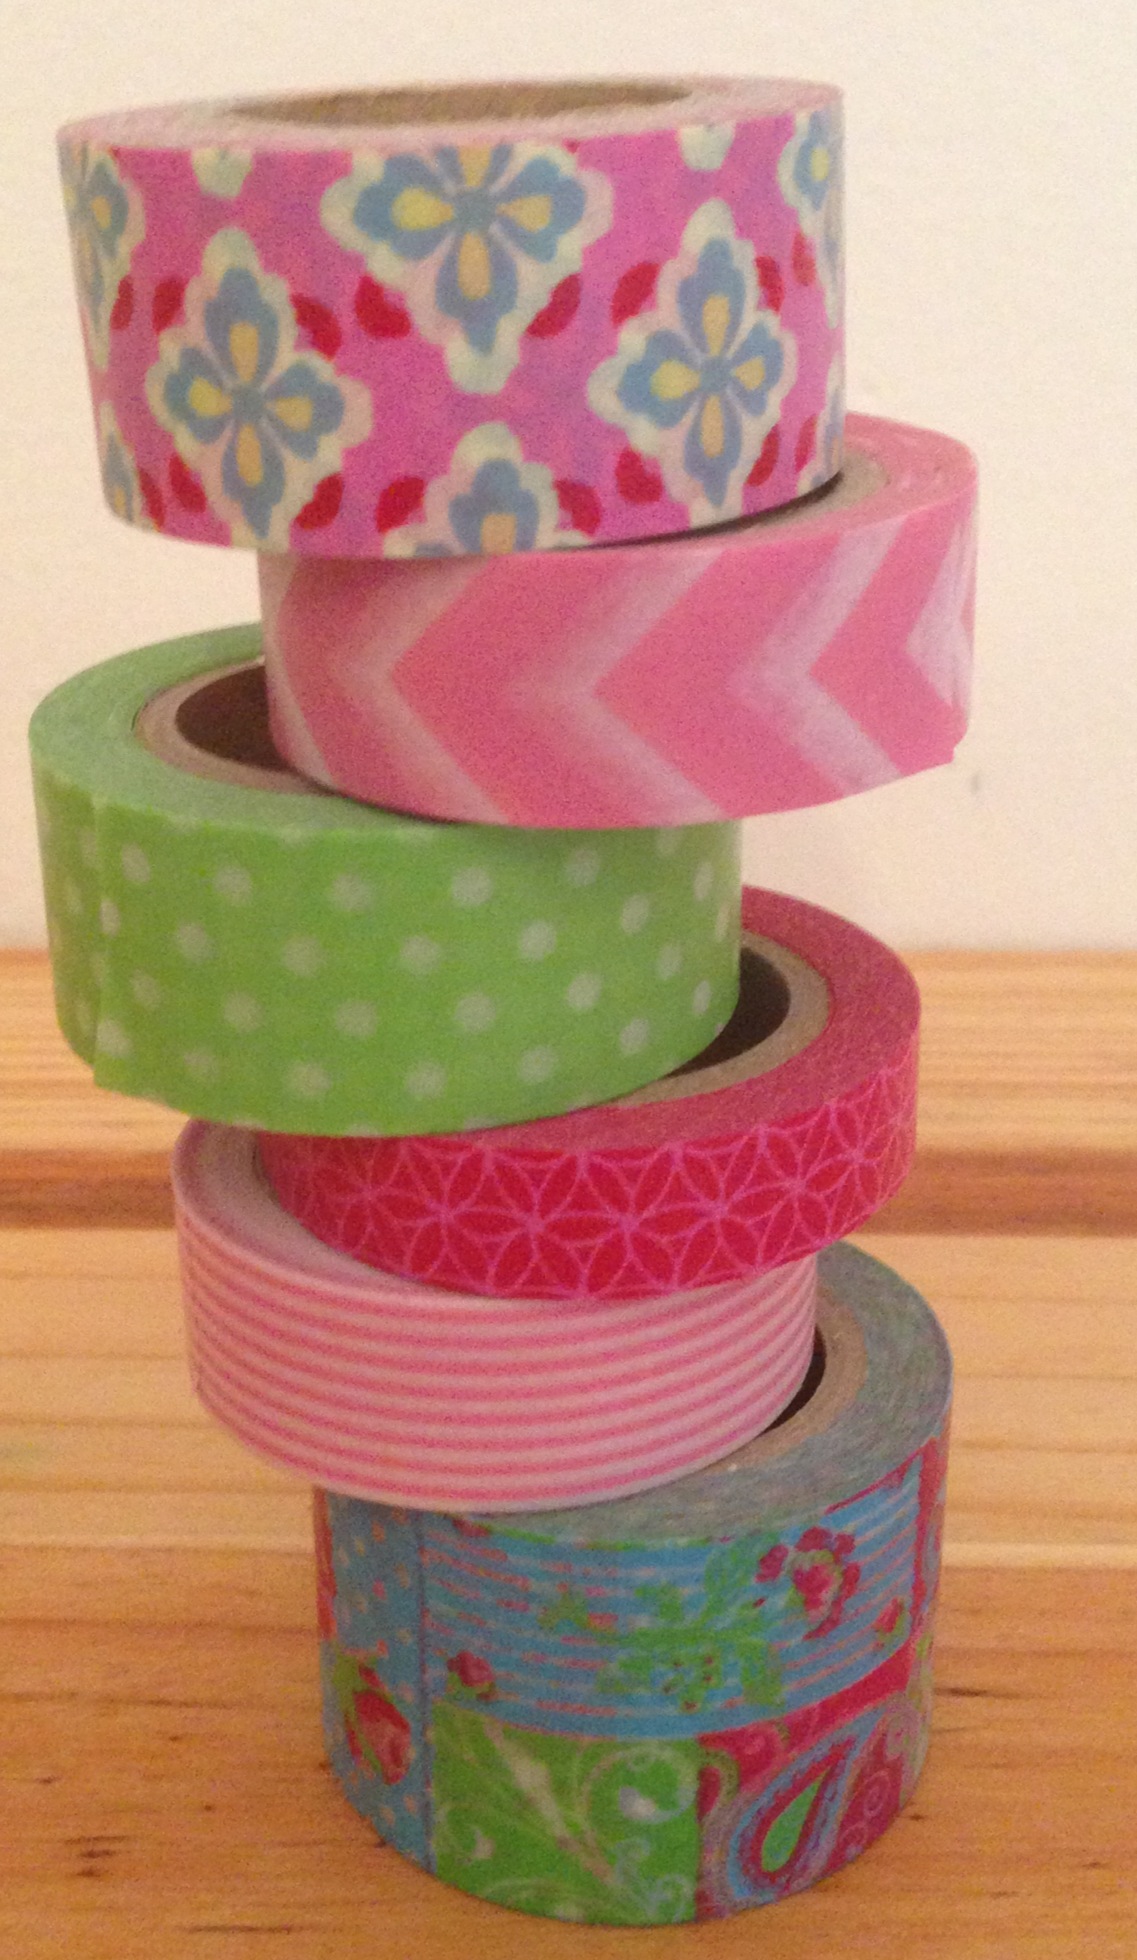
- Washi tape (optional for decoration)
- Ribbon or raffia (optional for decoration)
- Steel scrubbing sponge (optional for removing labels)
- Goo Gone (optional for removing labels)
- Drop cloth
Procedures:
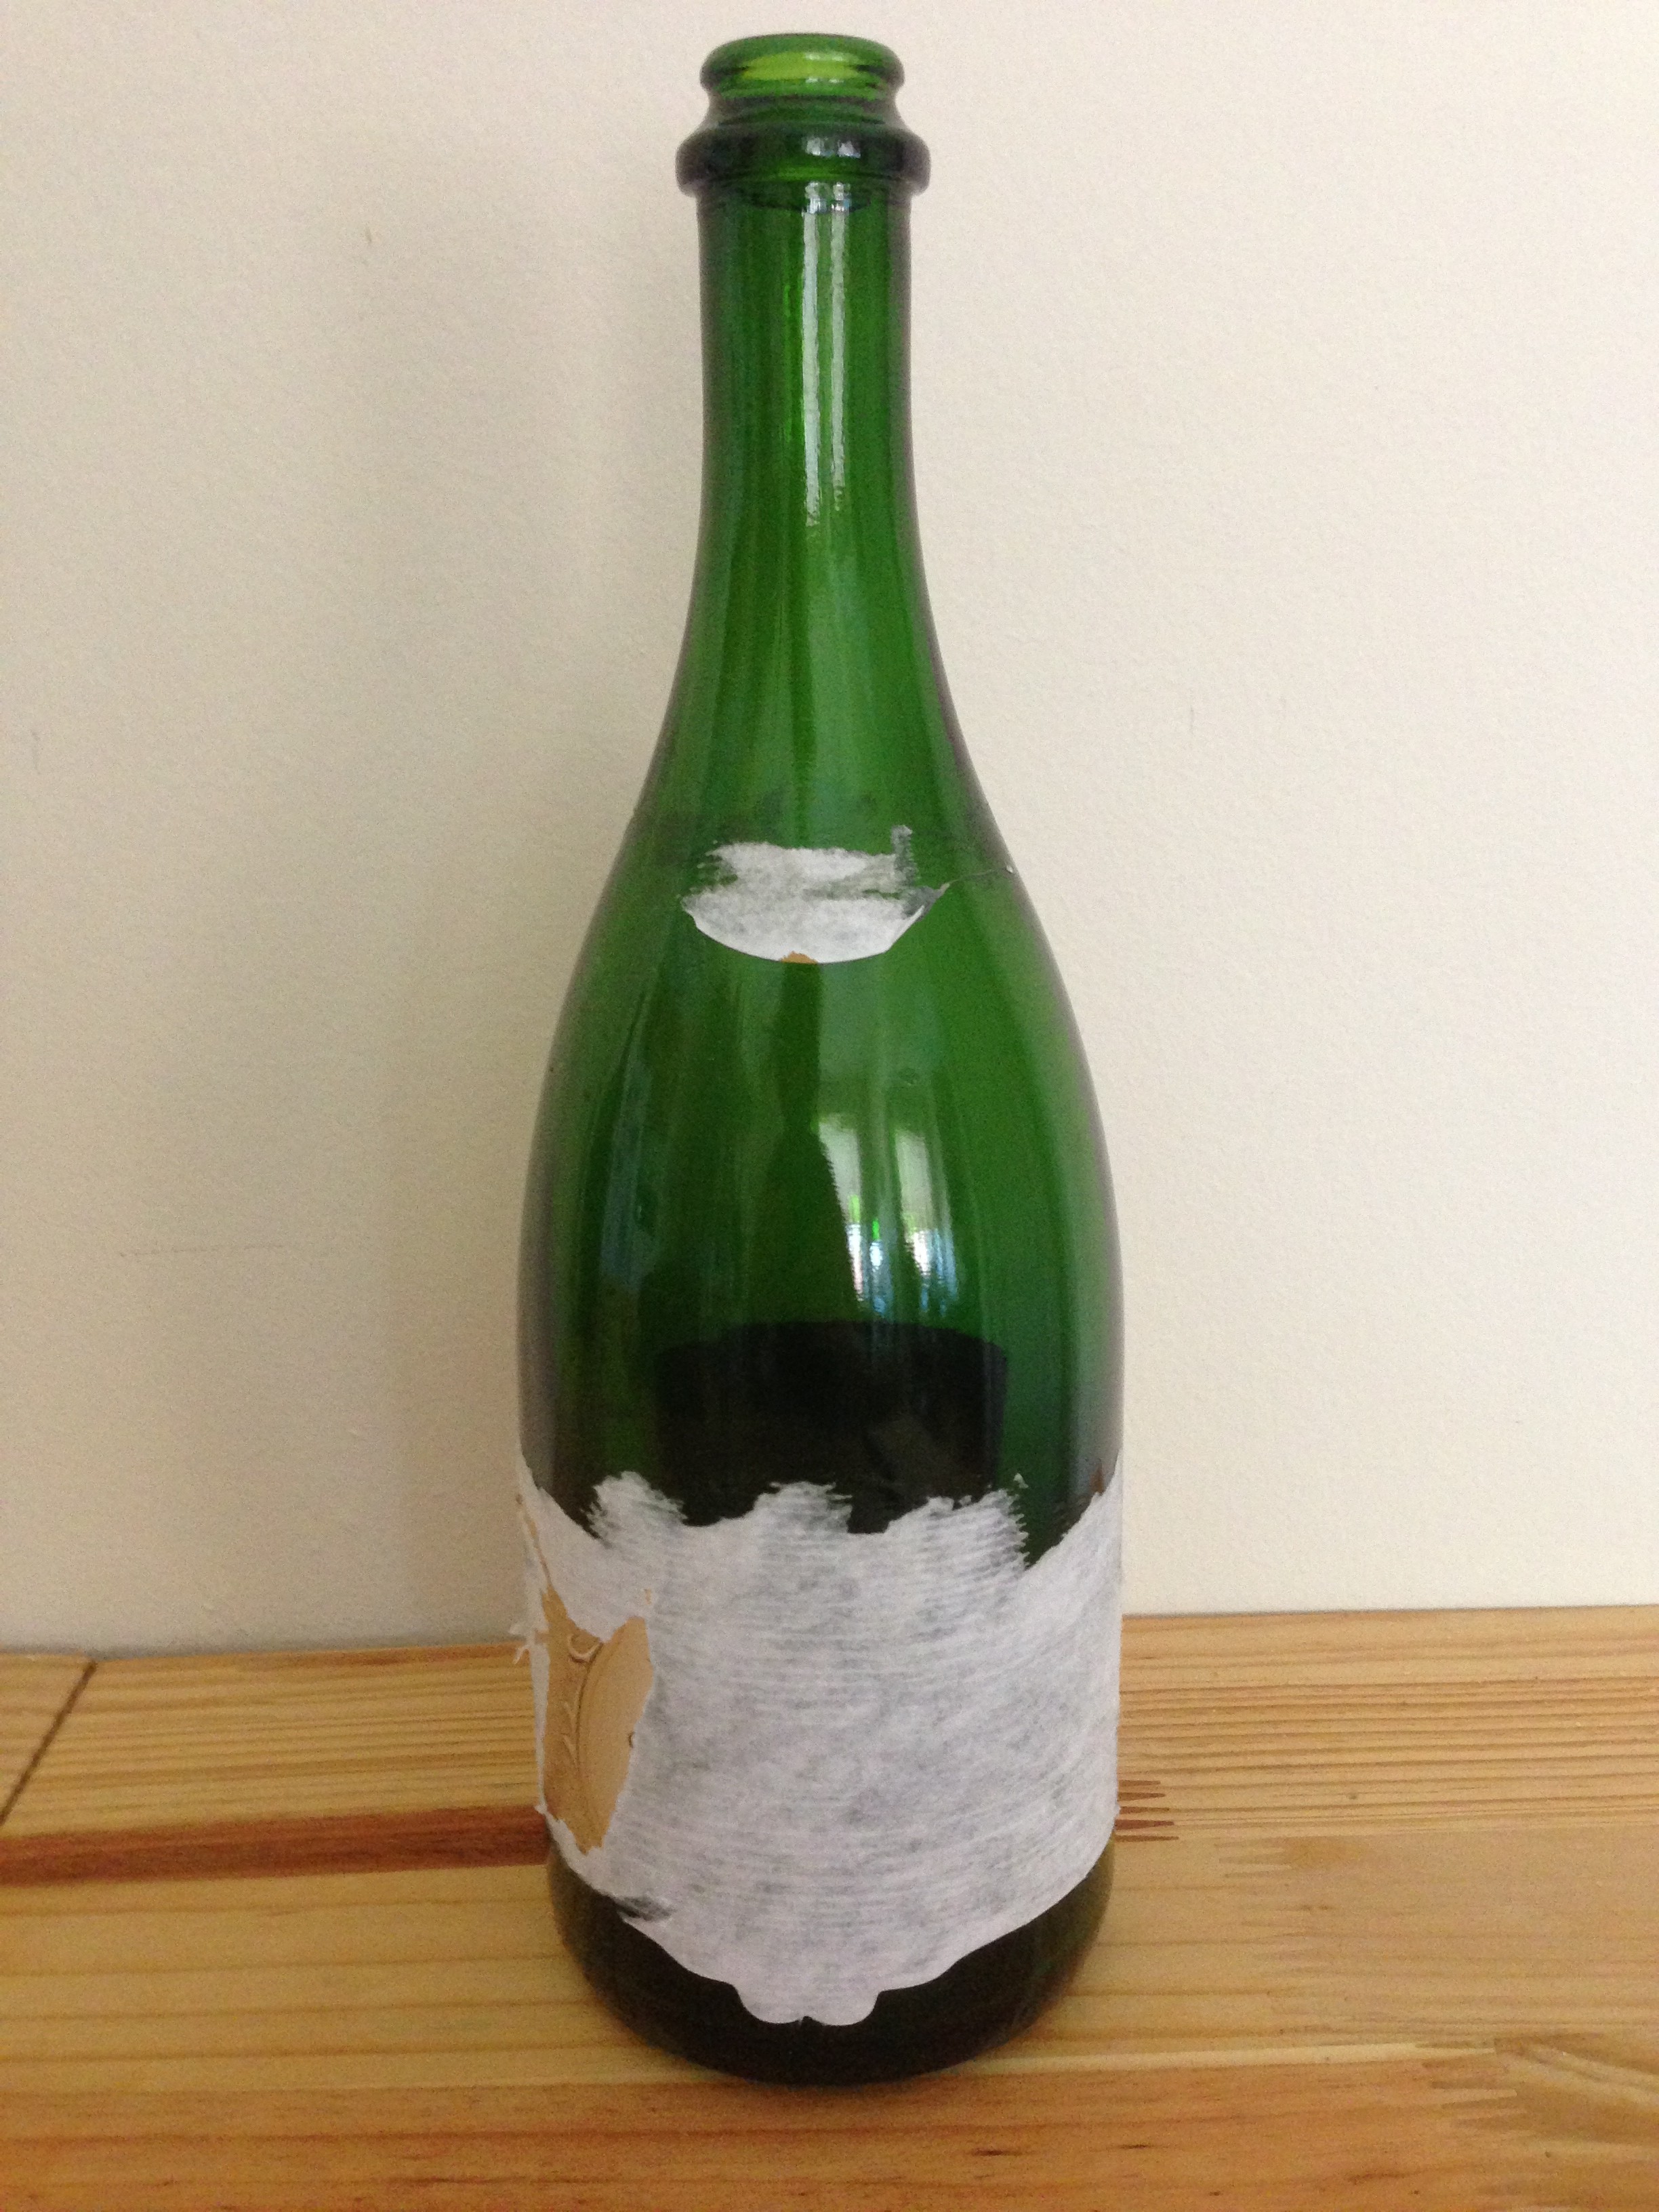
1. The first step in this project is the hardest… remove all the labels from the bottles.
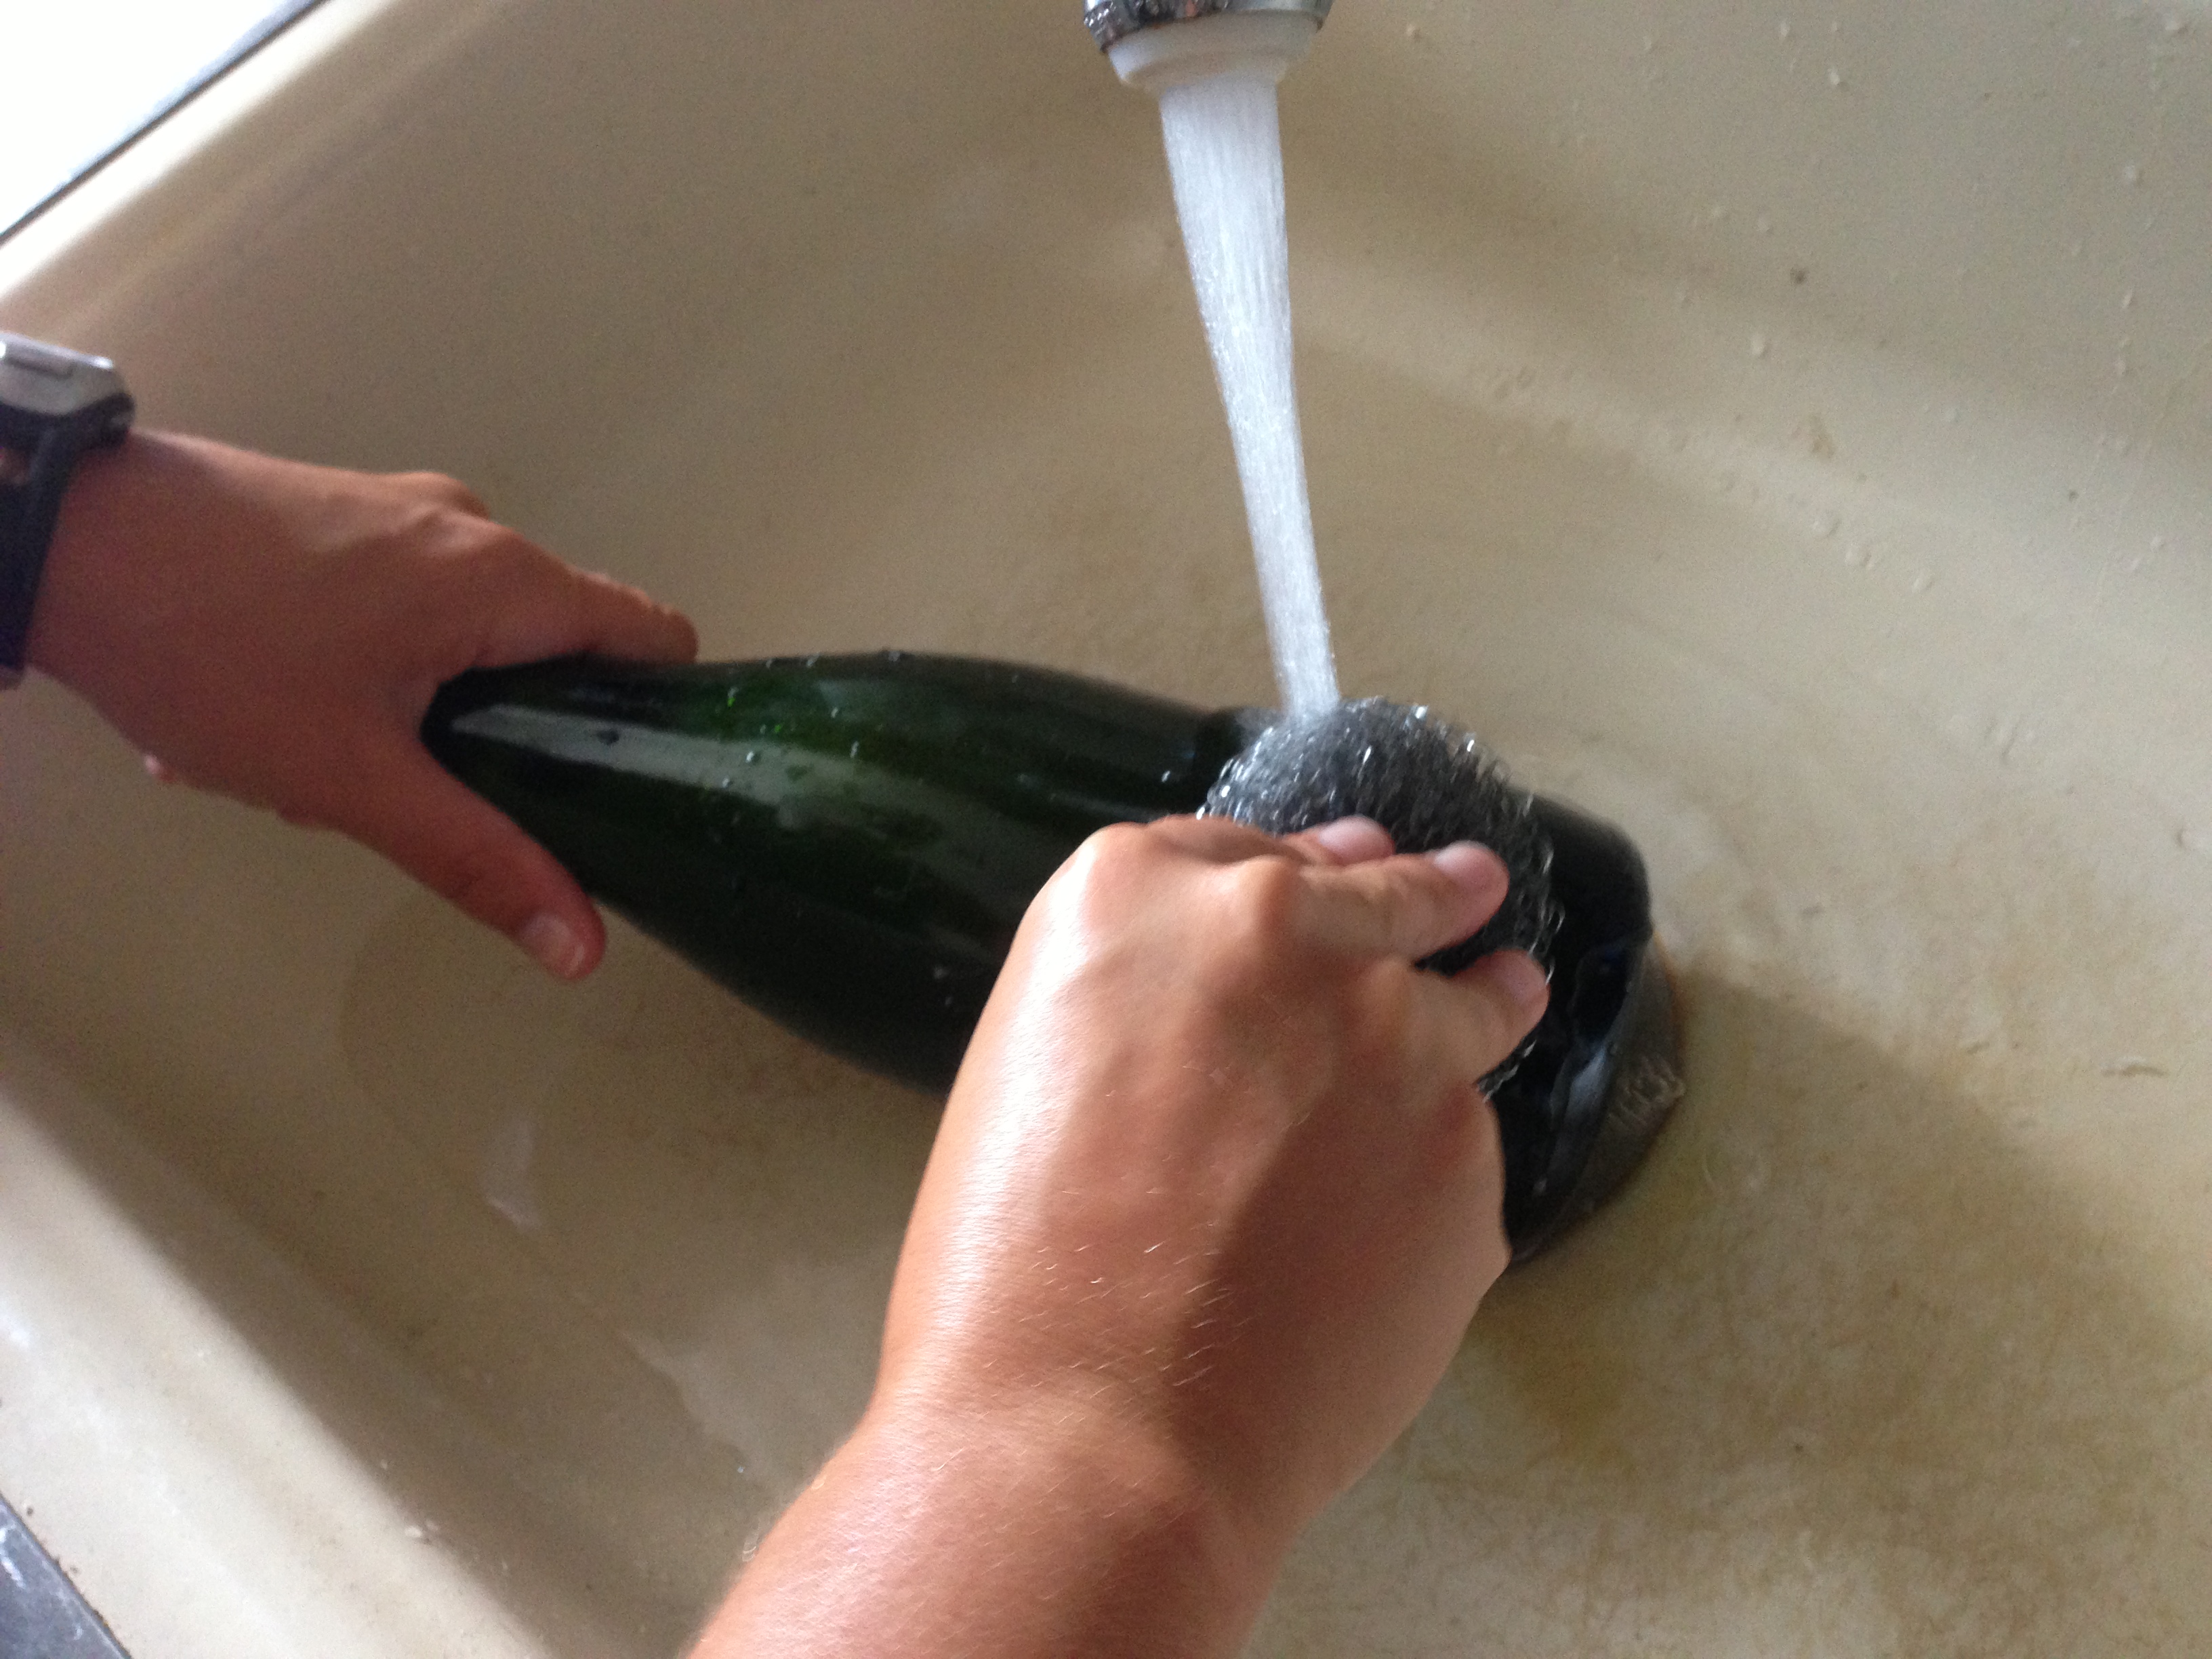
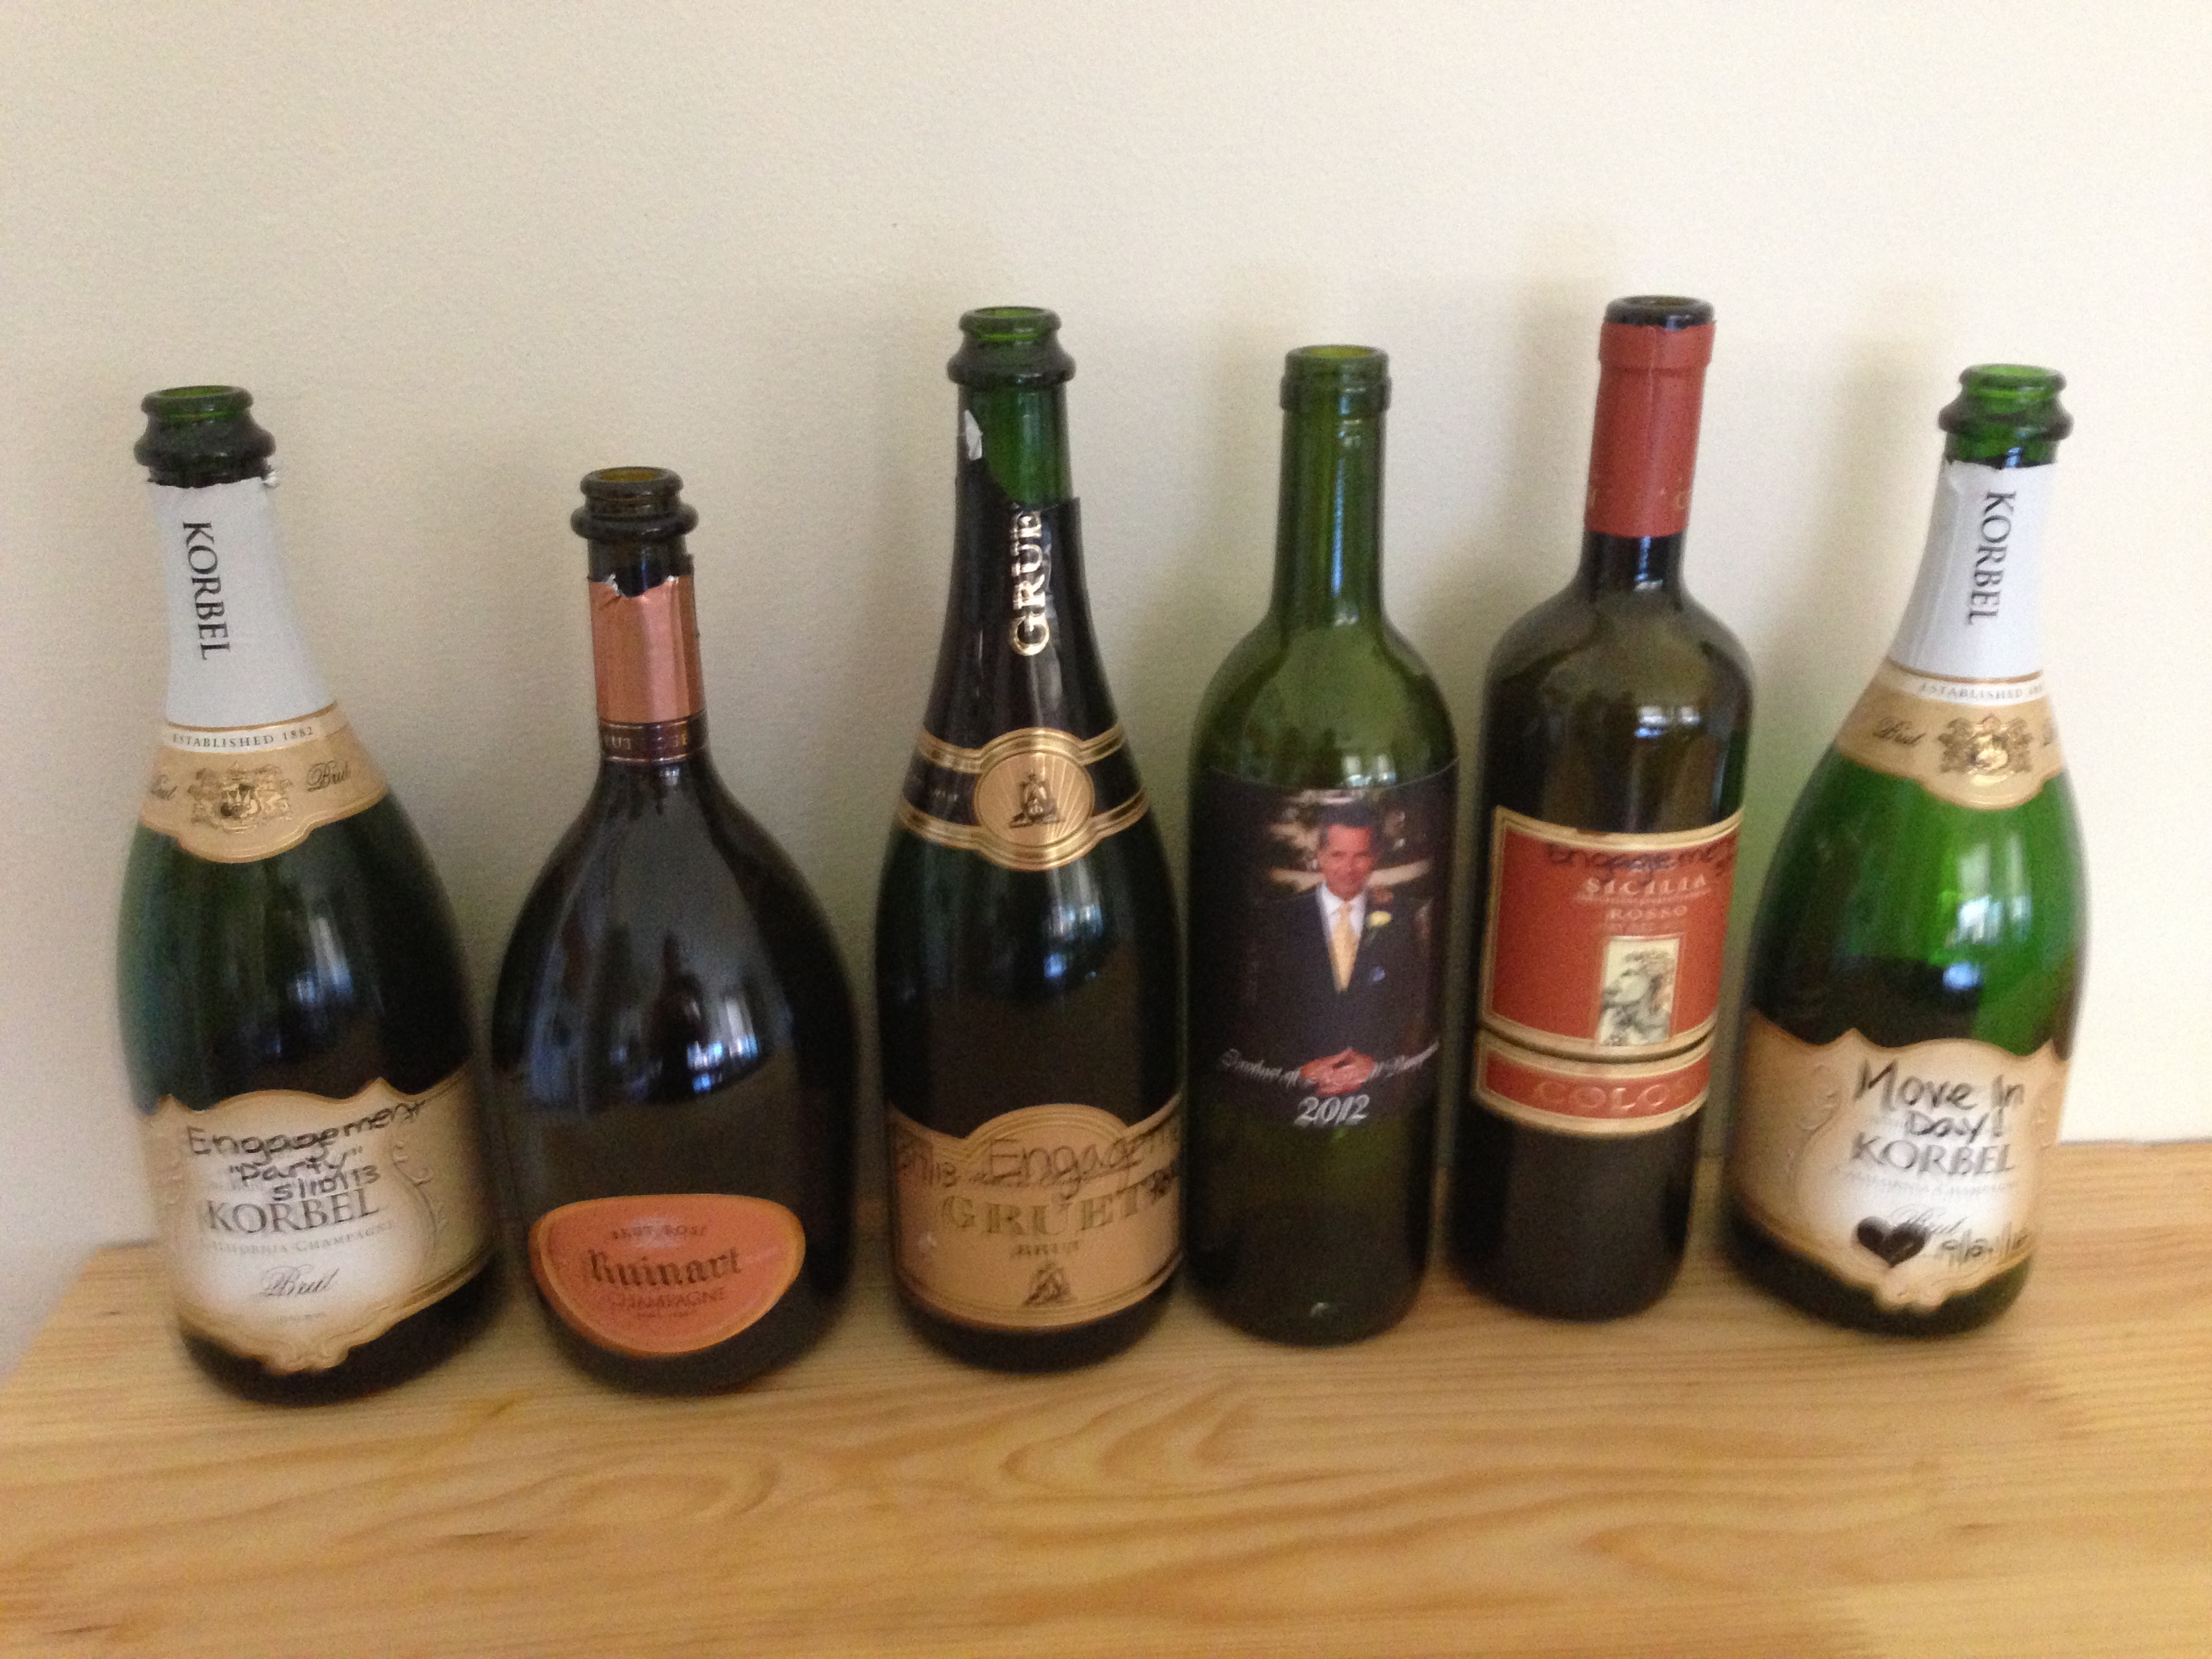
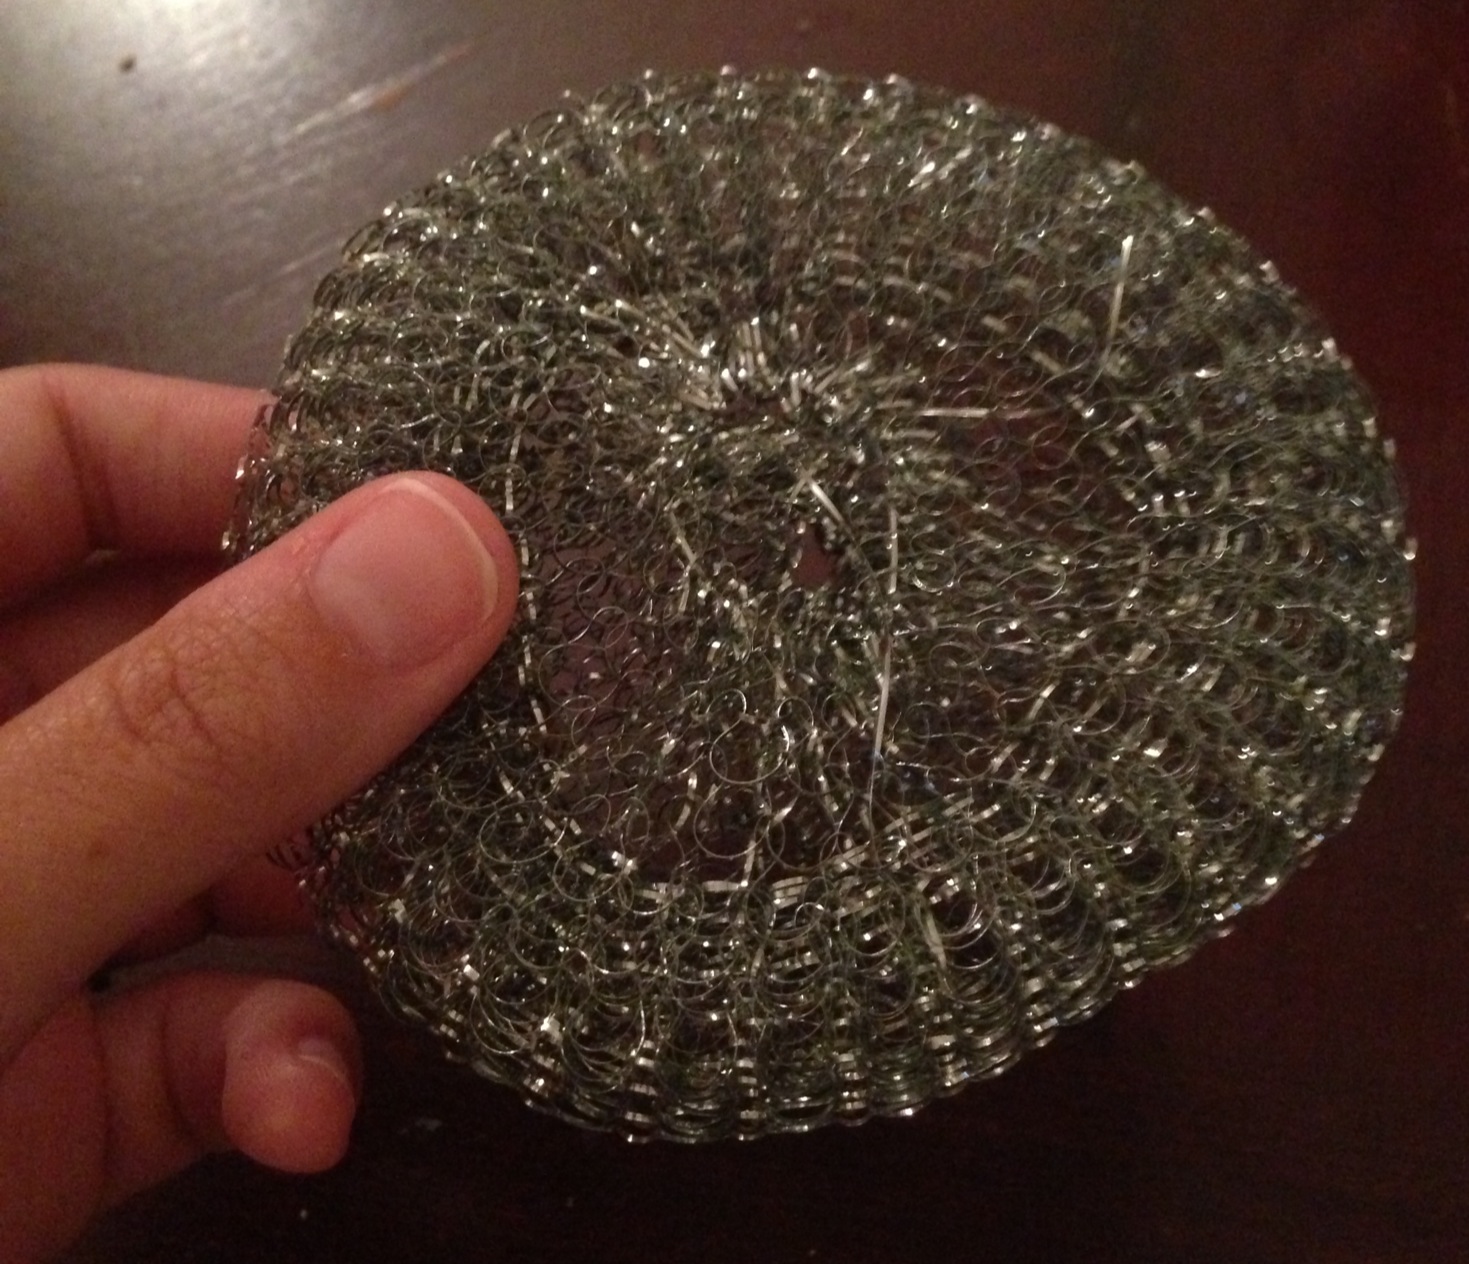
I chose to use six different bottles for this project. Of the six, two labels came right off and left no sticky mess at all. However, that was not the case for the remaining four. Once you initially pull off the label, it will probably look something like the picture below. I ran warm water over the bottles and scrubbed them with a steel sponge to make the process go much faster and easier. Two of my bottles were extremely stubborn and even after soaking them for a much longer time than the others, I still was unable to remove the glue. It was a frustrating, giant, sticky mess! I ran downstairs to my neighbor because I knew he had a bottle of Goo Gone. Once I used that, they came right off!
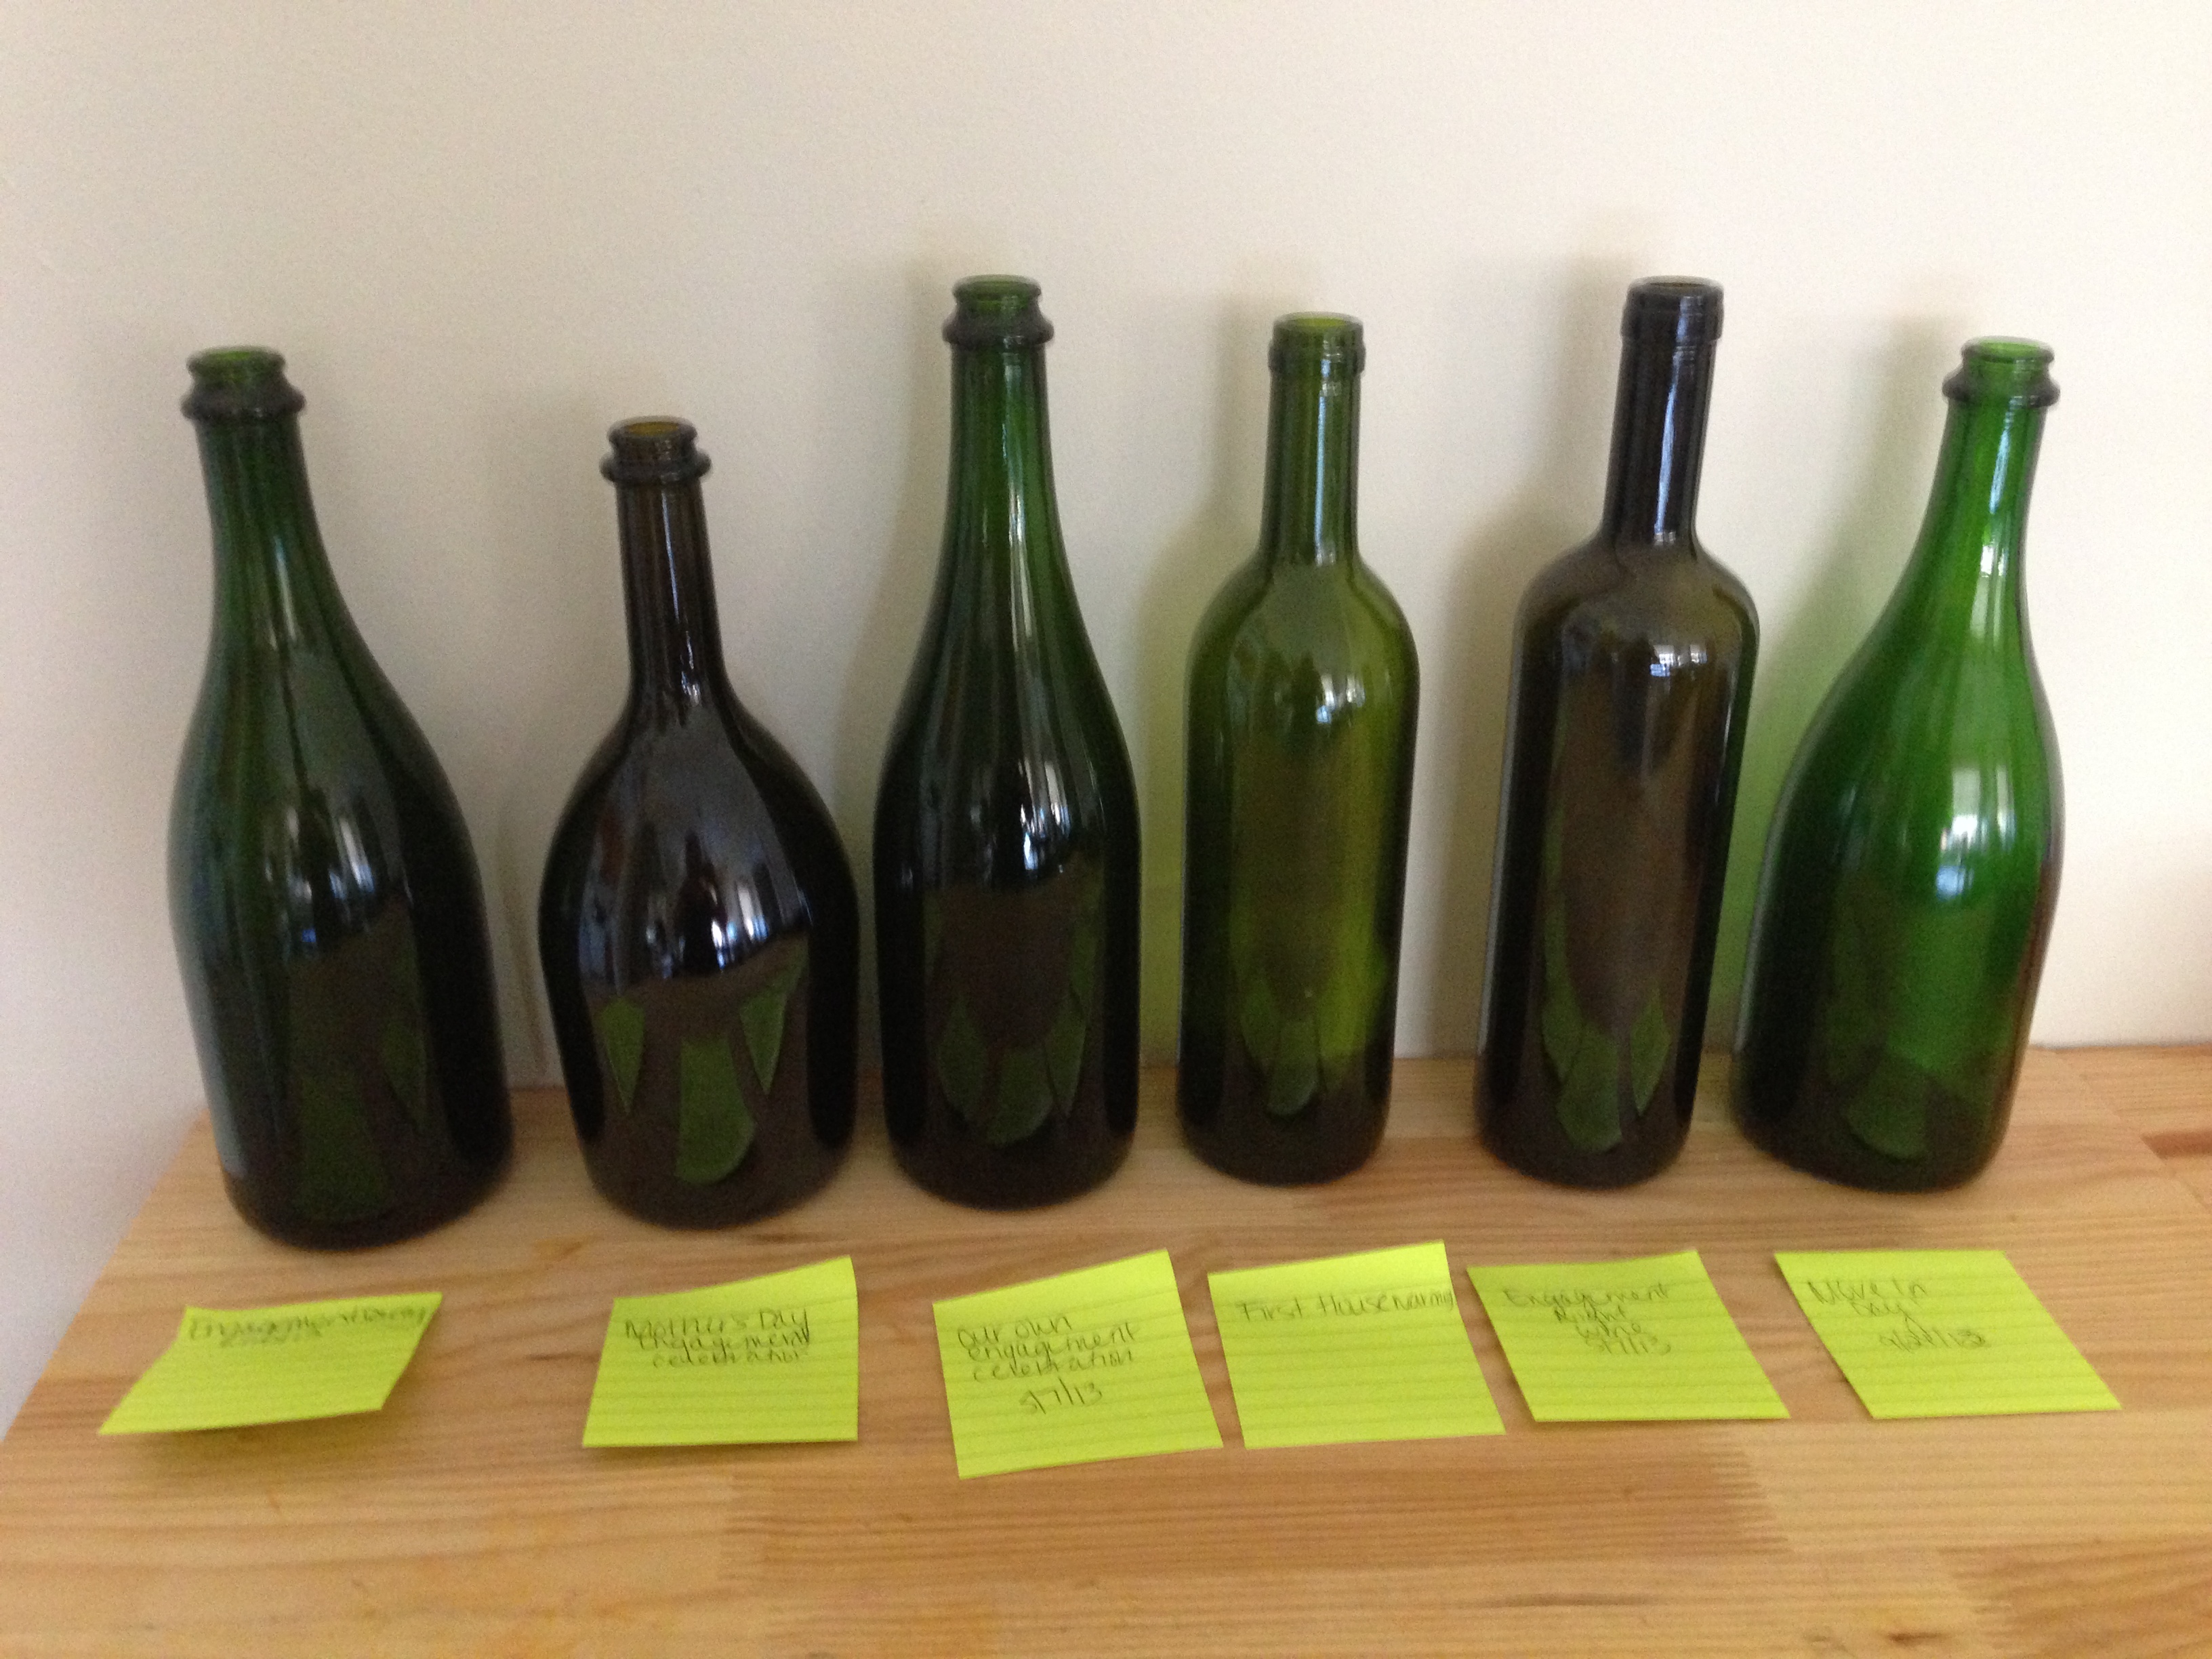
Once the labels were finally off the bottles already looked SO much better, in my opinion. I was also afraid that I would forget which occasion each bottle represented, so I made sure to label them with sticky notes so that I knew what to write when it came time to decorate them.
2. The next step is to spray paint the bottles. Believe it or not, I’ve never spray painted anything before so I was a little bit nervous I would mess up and ruin them. I was pleasantly surprised to see how quick and easy it actually was! While I was in the middle of the process I kept thinking about other things around the house I can spray paint next. To paint the bottles, I headed out to the roof of my apartment and placed a drop cloth down to avoid a big mess. The first bottle I sprayed dripped a little bit because I held the paint can too close. Make sure you hold the can about a foot away when you’re spraying. I sprayed two layers of paint on each bottle. It was about 95 degrees out when I was working, so my paint dried really quickly. I waited about 5 minutes in between each coat of paint.
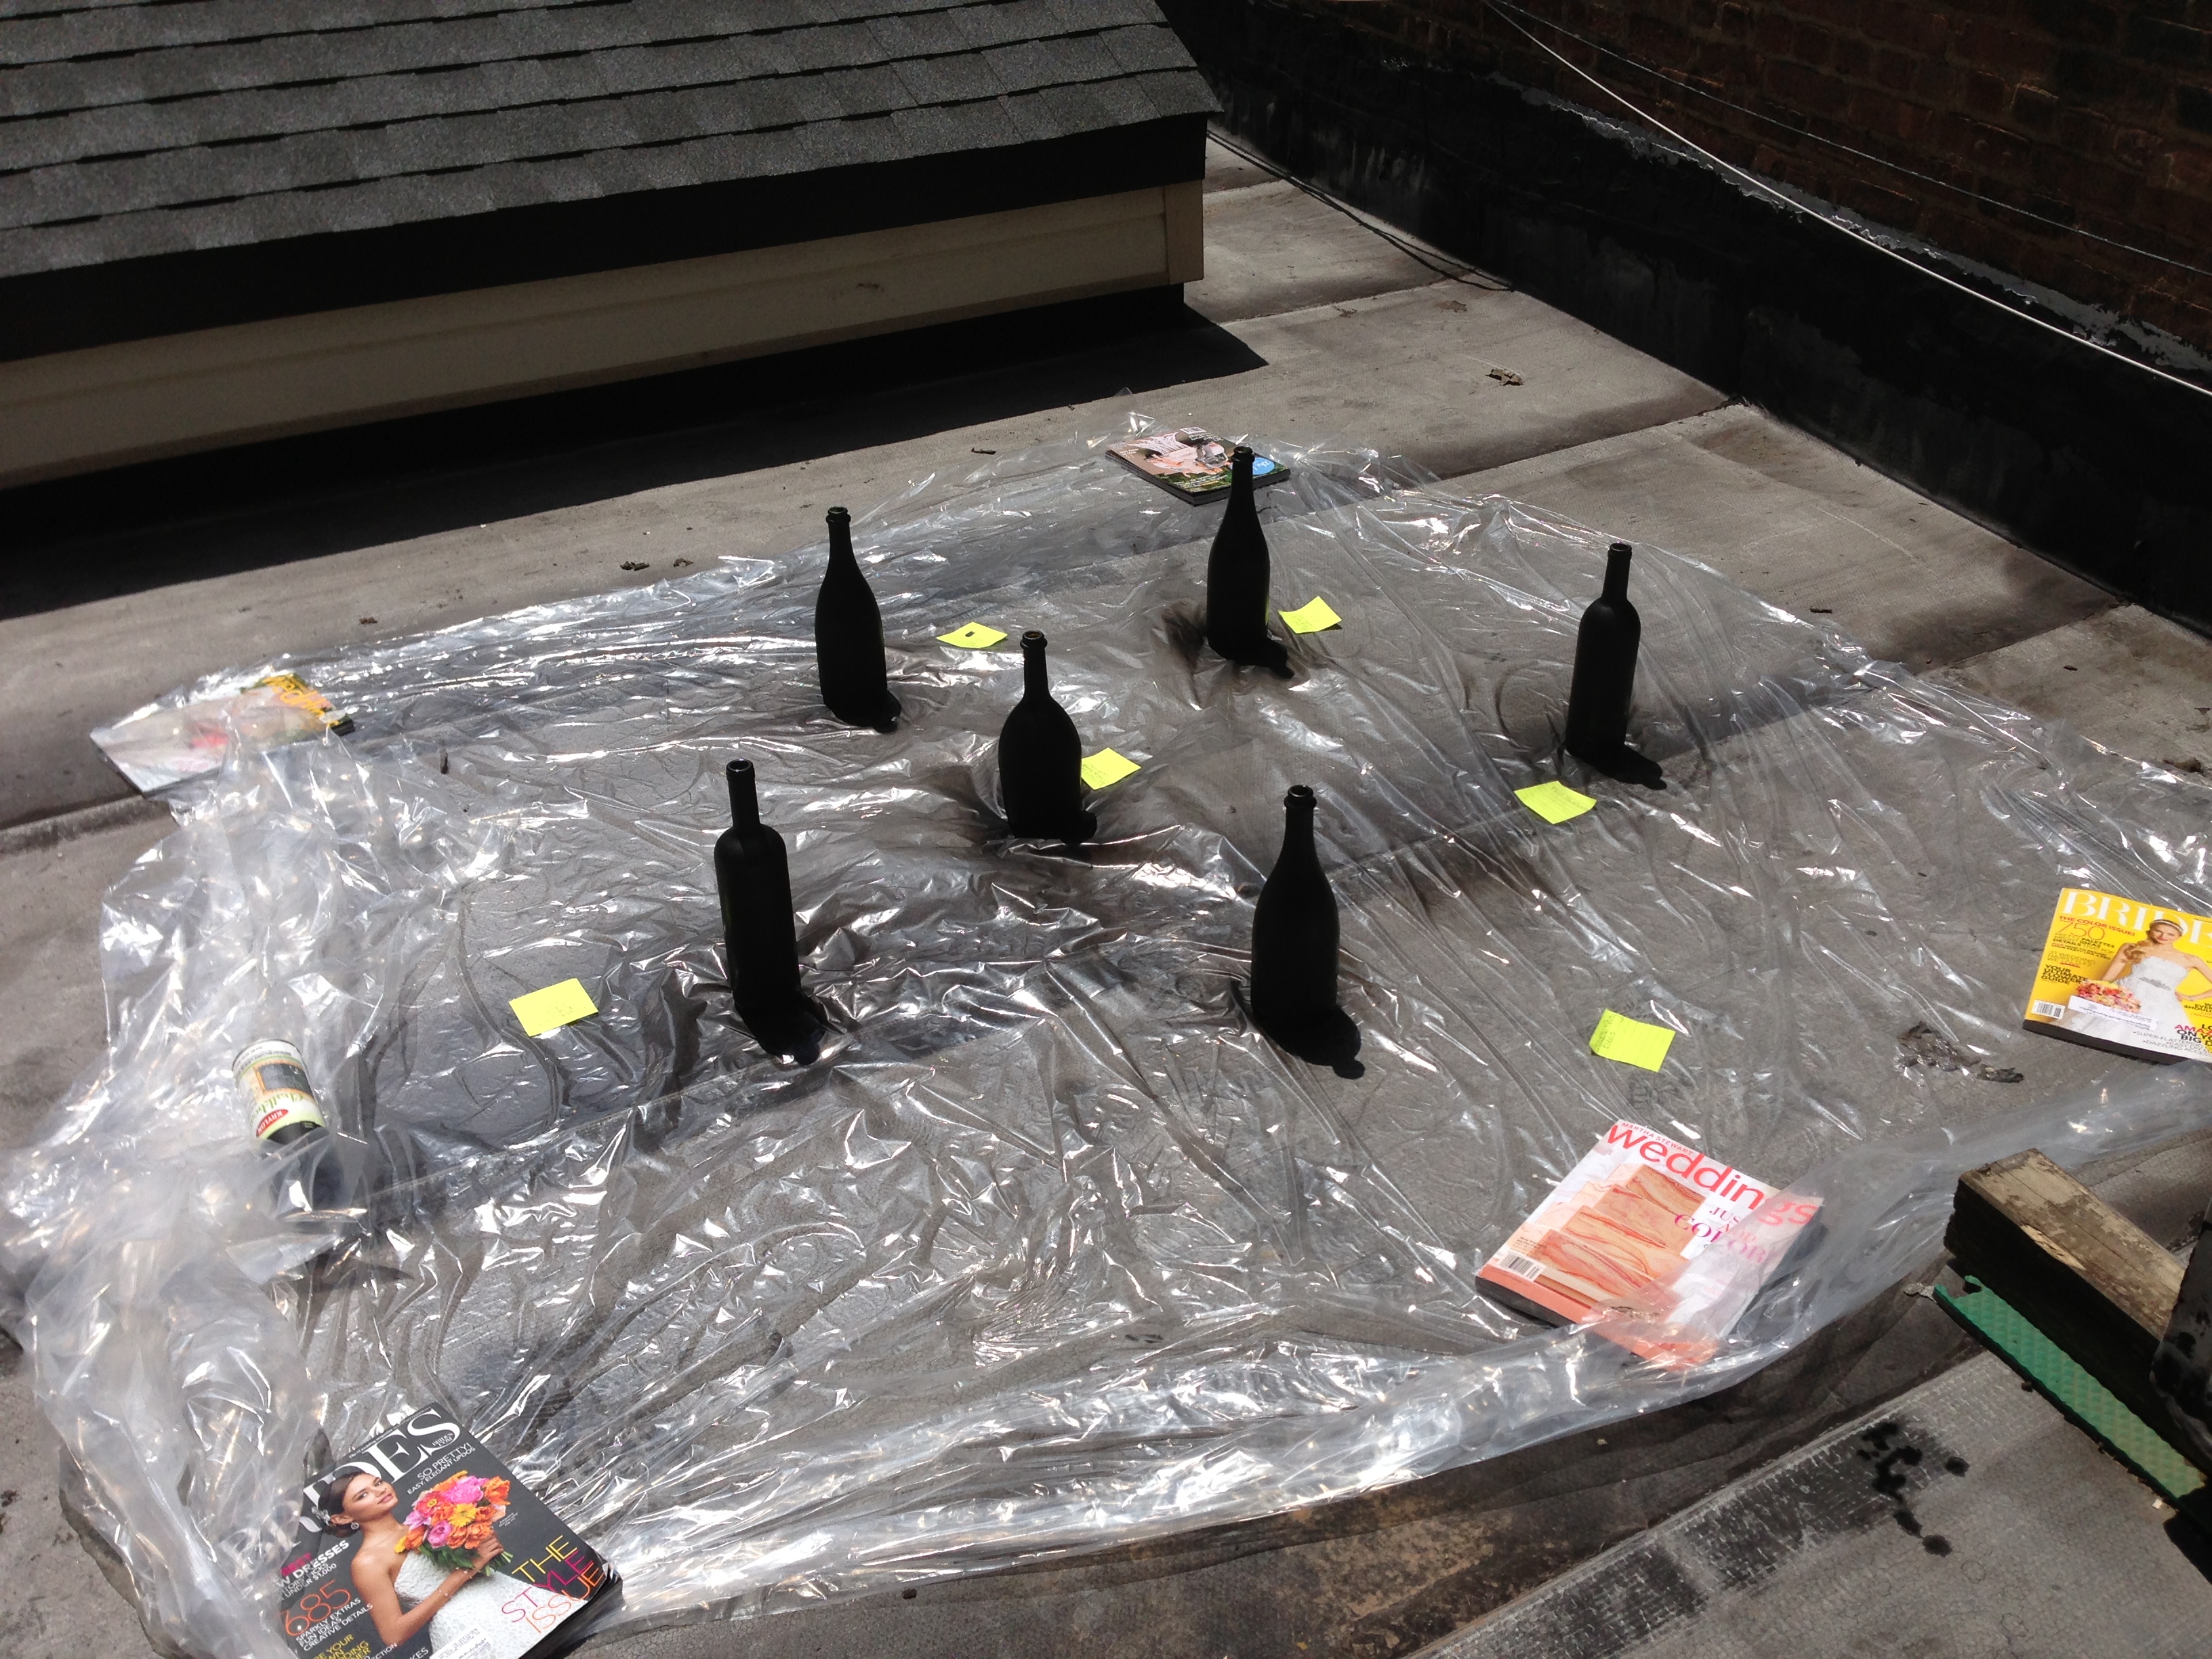
I used magazines to hold down the tarp and also made sure to keep my sticky notes next to the bottles!
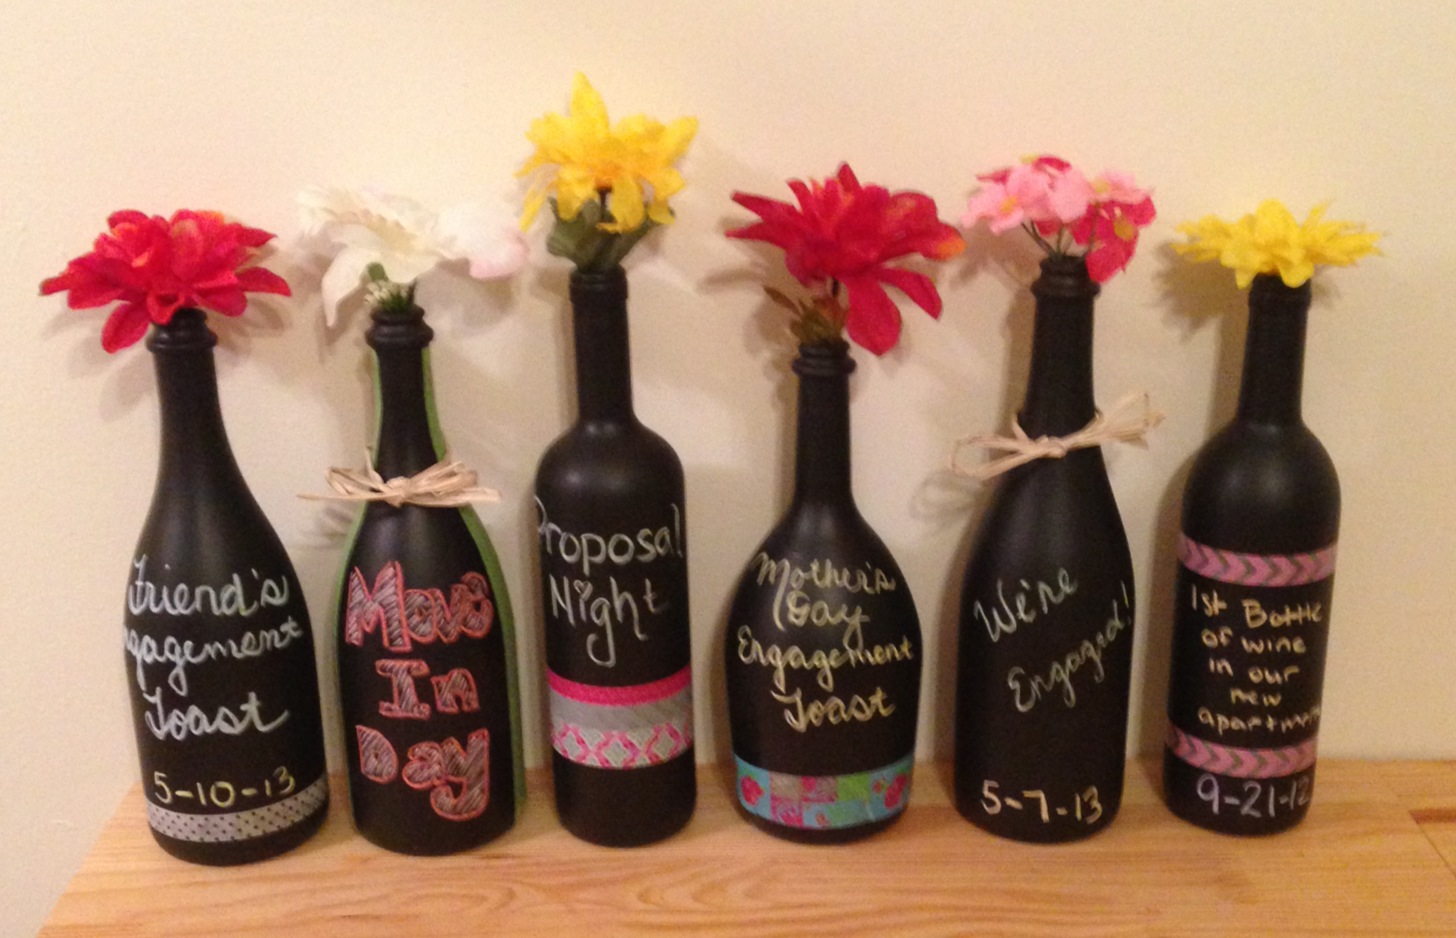
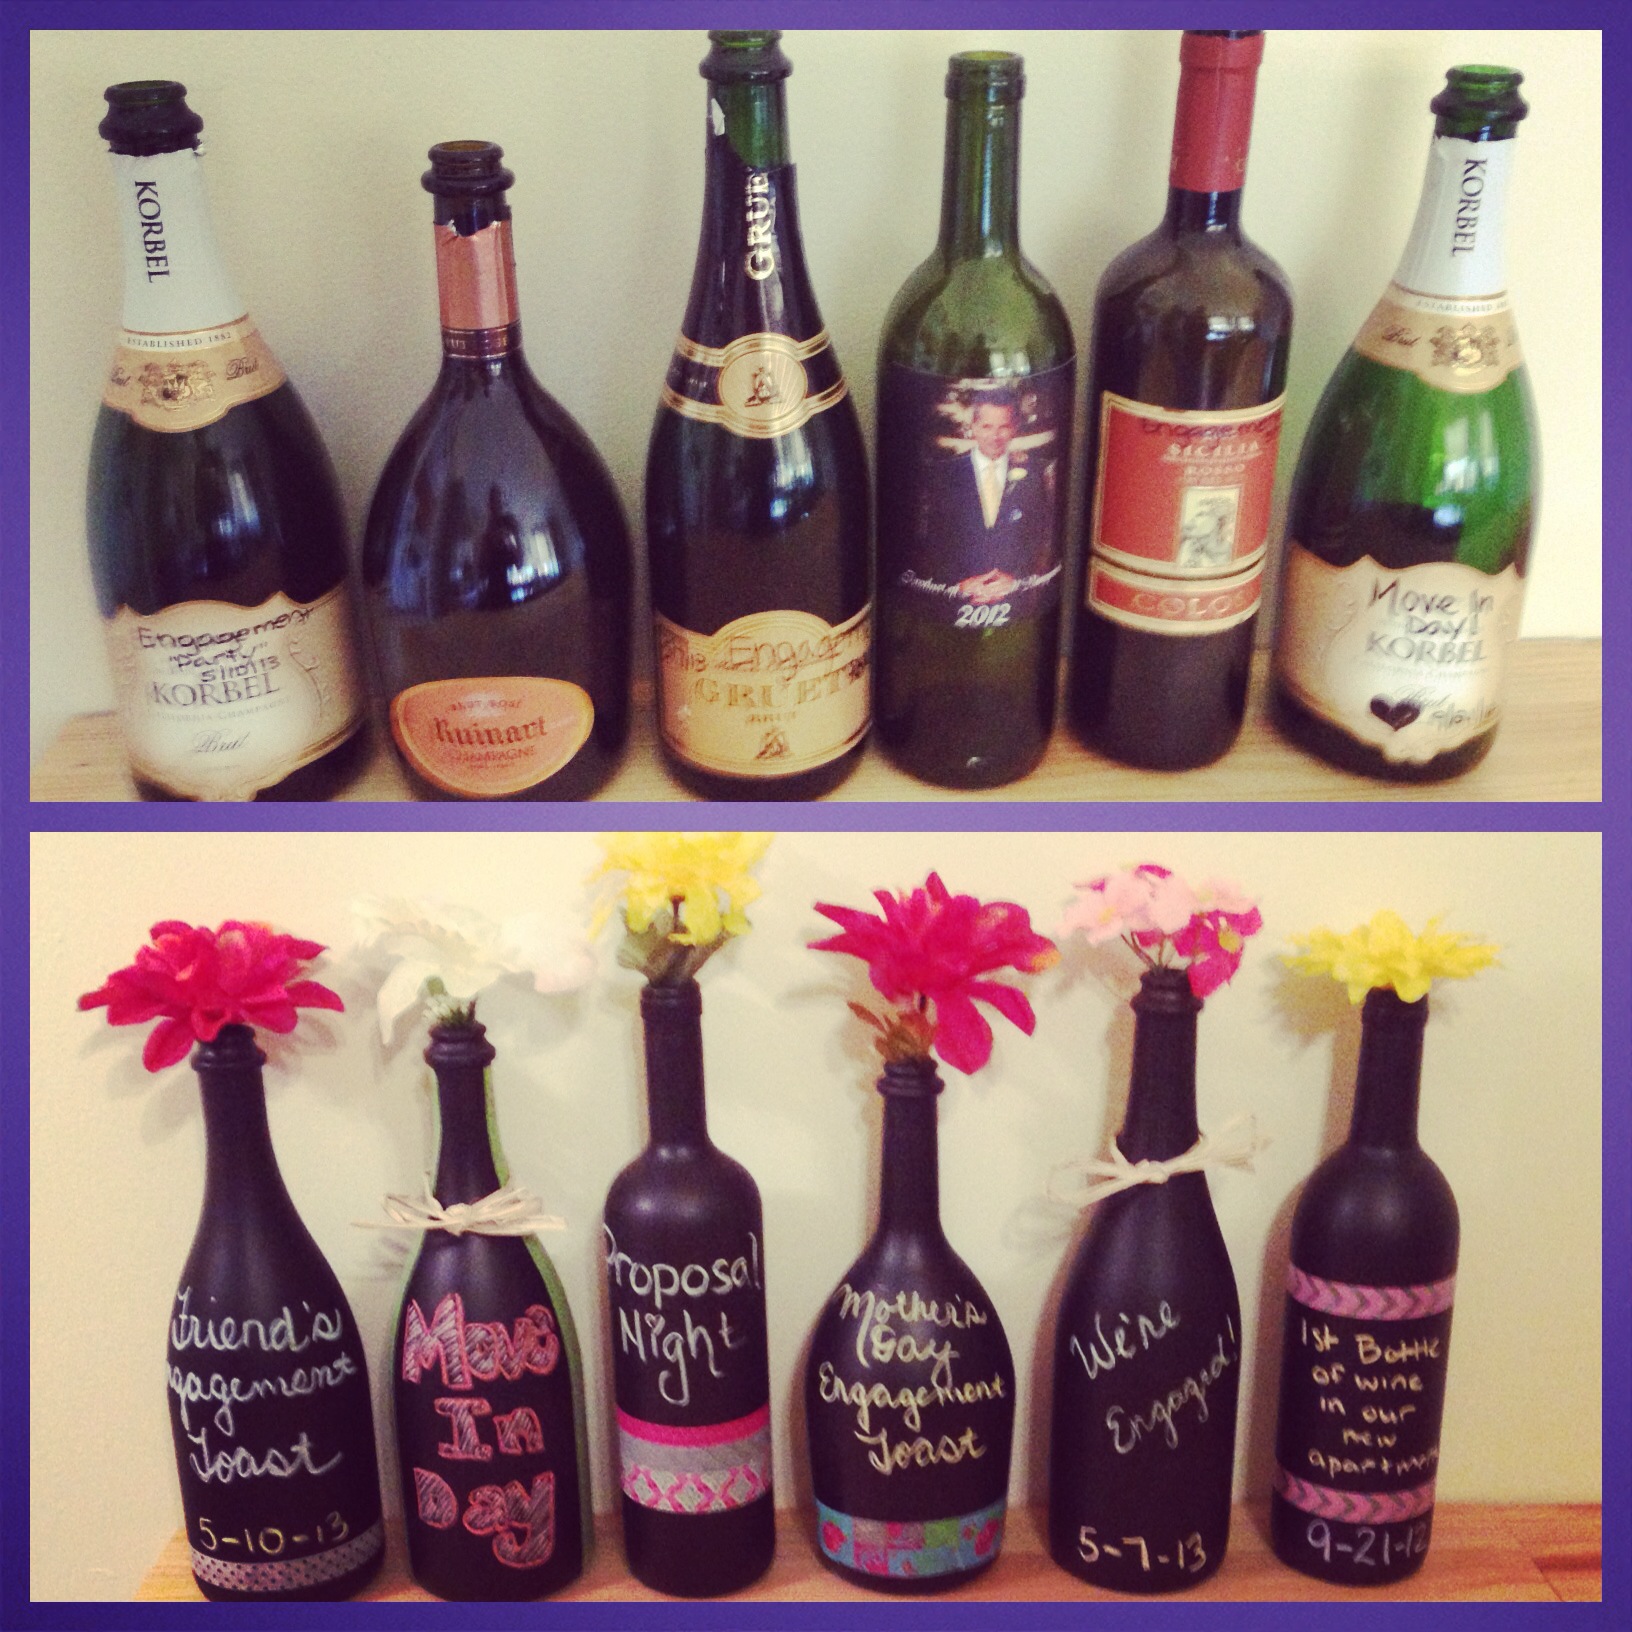
 3. Once the paint is dry, it’s time to decorate! This part is the most fun. I decided that I would transform these bottles into vases so I purchased a few artificial flowers in a variety of colors at the dollar store. I also used washi tape and raffia to decorate the outside. My main focus while decorating the bottles was to make sure I wrote the special occasion on the front. I just used thick sidewalk chalk to do so because I had it around the house. I’m not too crazy about my handwriting because of the bulky chalk, so eventually I plan to buy the chalk markers to fix it up a little bit. But for the time being, I think it’s good enough!
Let me know what you think! Enjoy :)
